6 7
IP300 Manual
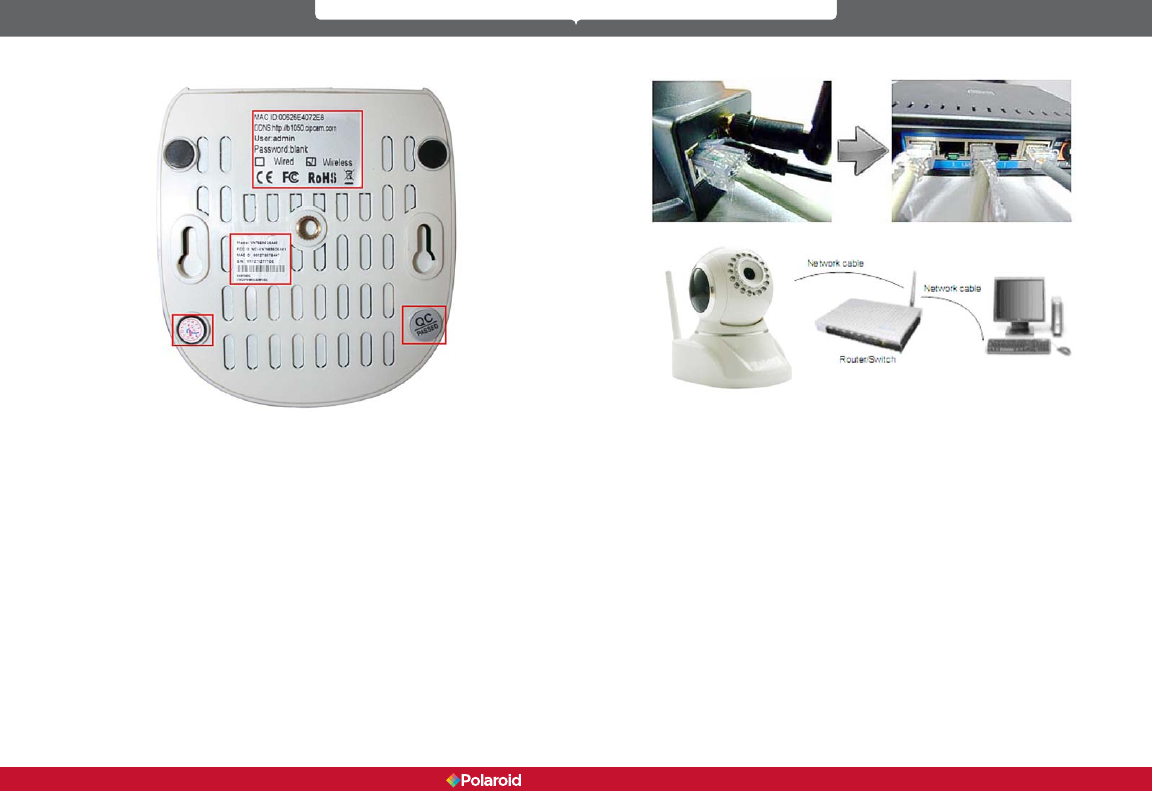
1.3.3 Bottom View
Figure 1.3
Beware: If your camera does not include several stickers, such as MAC address
and QC sticker, it could be a fake IPCAM and will not work with original
rmware or be able to be serviced by our after sales service. Make sure it has
the MAC address and serial number.
1.4 PC System Requirements
System conguration requirements for viewing multiple IPCAM camera feeds:
CPU: 2.06 GHz or above
Memory capacity: 256M or above
Network card: 10M or above
Display card: 64M or above memory
Recommended OS: Windows 2000/XP/Vista 7
1.5 Hardware Instruction
Figure 1.4
To set up your camera hardware, follow each of the following steps carefully to
ensure optimum camera operation:
1. Install WI-FI antenna
2. Plug power adaptor into camera
3. Connect network cable into both camera and into router for initial set-up
(initial set-up is not over WiFi; please keep network cable inserted during
initial set-up. Later,, when you have established your camera on your wireless
network, the hard wire from the camera to the router may be removed, see
section 3.4. It should, however, remain connected during initial setup.)
4. Note: it takes approximately 30 seconds for camera to boot; once this is done,
nd the “IP address” in
IP CAMERA TOOLS (see Figure 2.1)
5.Note: Once the proper software is installed and once both power and network
cables are connected to the camera unit, an led indicator should glow green
steadily to indicate the camera is now on. Later, when you establish your
wireless internet connections, an LED will ash yellow to indicate when the
camera is transmitting to the Cloud. Please note that the proper software must
be installed for these LEDs to function properly! SEE NEXT SECTION FOR
SOFTWARE INSTALLATION.
Polaroid • Introduction Polaroid • Introduction


