


Installation and Connections
Installation
54
8
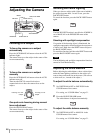
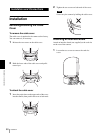
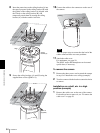
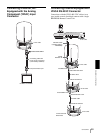
Insert the protrusions on the ceiling bracket (A) into
the spaces prepared in the ceiling bracket (B) with
the f hole on the ceiling bracket (A) aligned with
the s hole on the ceiling bracket (B), and
temporarily attach them by turning the ceiling
bracket (A) with the camera clockwise.
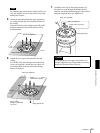
9
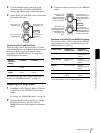
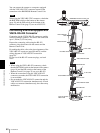
Secure the ceiling brackets (A) and (B) using the
supplied three screws (3M3 × 8).
10
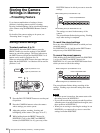
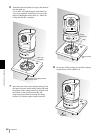
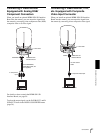
Connect the cables to the connectors on the rear of
the camera.
Note
Take the proper steps to ensure that the load of the
cables connected does not cause problems.
11
Attach the cable cover.
For attachment, see page 50.
The SONY and/or HD nameplates can be turned
upside down, if necessary.
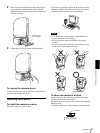
To remove the camera
1
Remove the three screws used to attach the camera
in step 9 of “Installation on a ceiling (example).”
2
Turn the camera with the bracket counterclockwise
to remove.
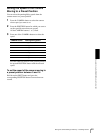
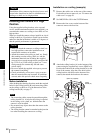
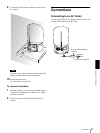
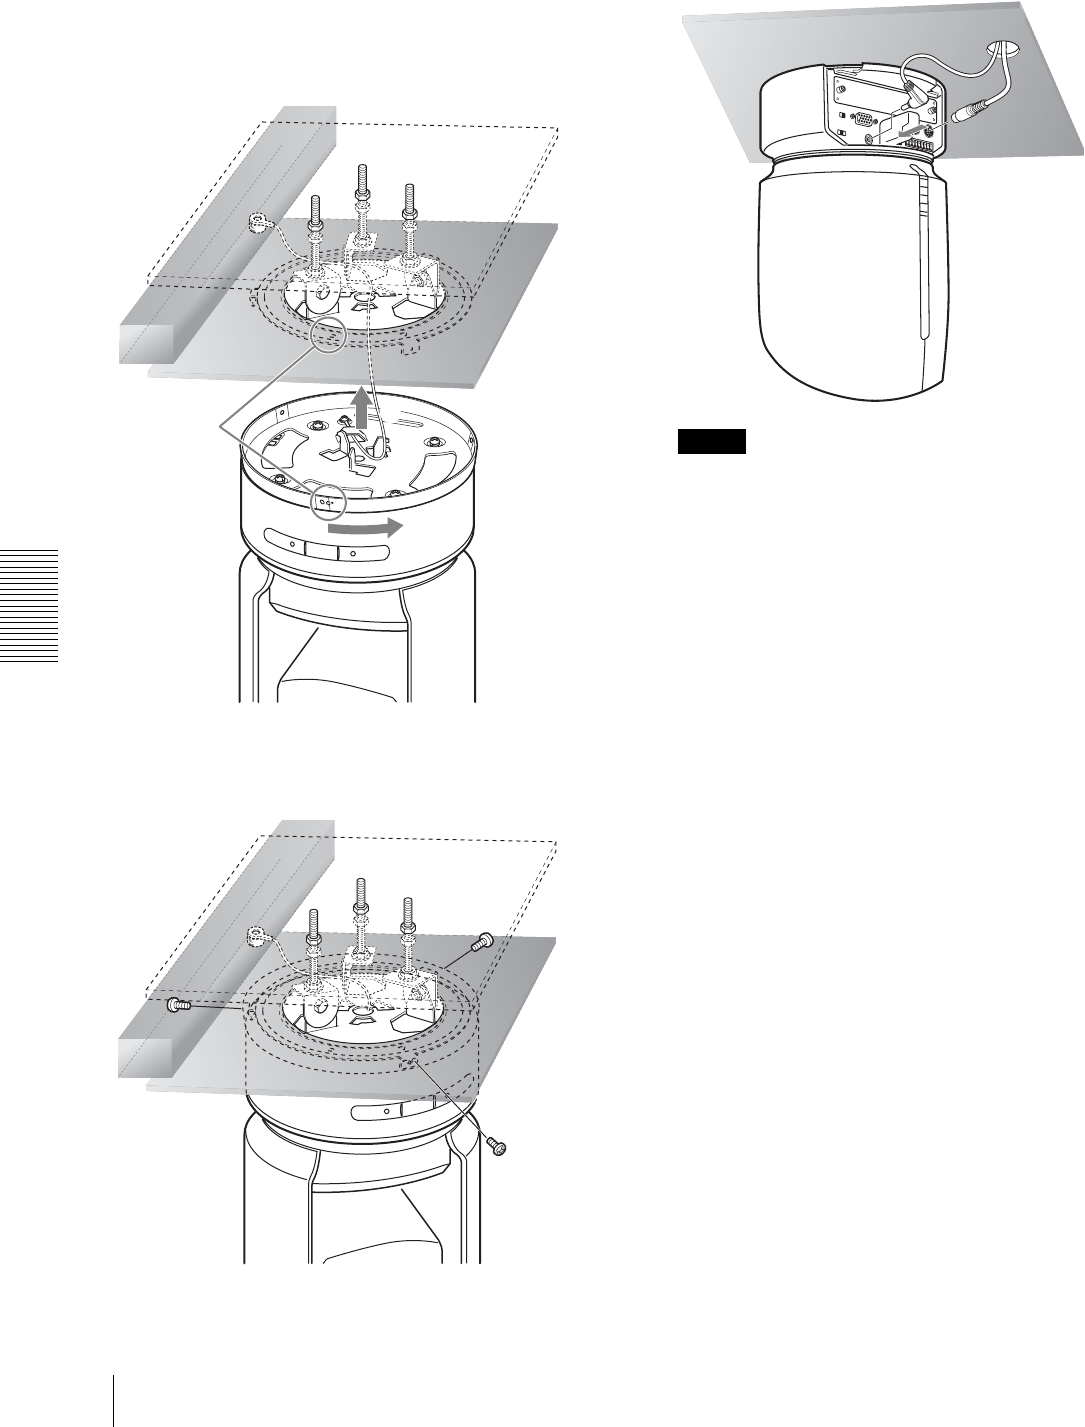
Installation on a shelf, etc. in a high
position (example)
1
Remove the cable cover on the rear of the camera.
For details on how to remove it, see “To remove the
cable cover” on page 50.
1
2
Ceiling bracket (B)
Align.
Ceiling
Ceiling
bracket (A)
Ceiling
3M3 × 8
(supplied)
Ceiling