


________________________________________________________________________________________________________
68
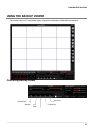
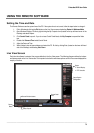
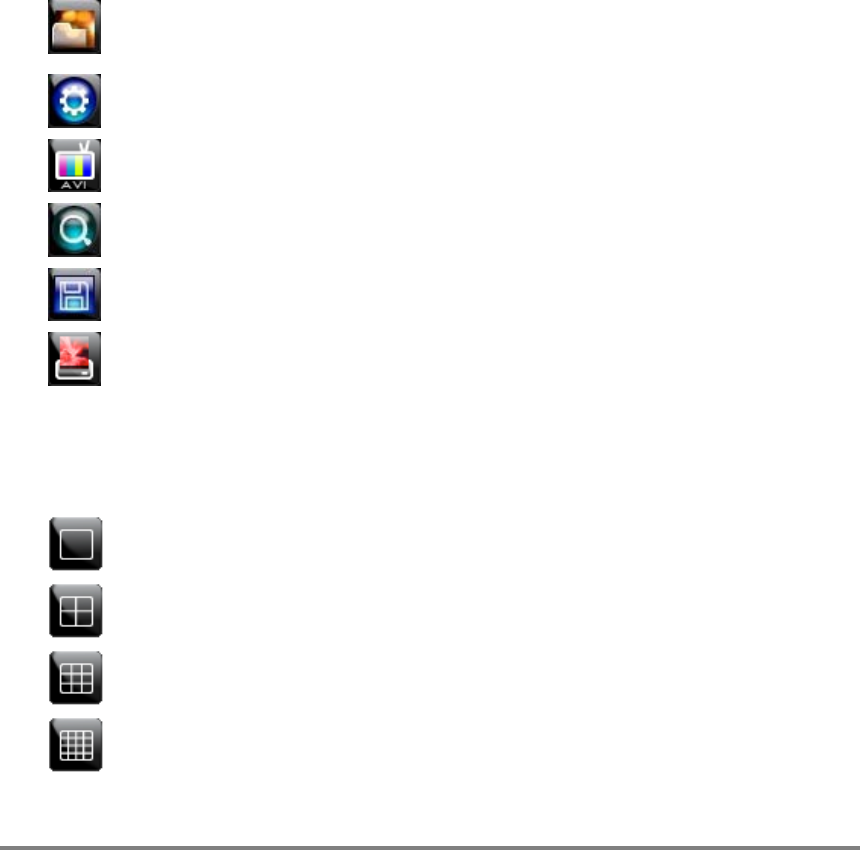
Setup and Save Functions
These function buttons allow you to configure the Backup Viewer and save a JPEG image or AVI video.
OPEN – Allows you to choose which data to open. When selecting data that is saved to your local hard
drive, the video must be in a directory named DATA. Navigate to the folder above the DATA directory and
click OK to see the available playback options.
SETTINGS – Select Direct Draw De-Interlacing for image viewing. Also allows you to include Image
information when exporting a JPEG.
EXPORT AVI –To export an AVI file: Click this button, enter the desired Digital Signature, the AVI start time,
the AVI end time and to include audio data (if desired) and press OK.
ZOOM – Select this button to turn your cursor into a magnifying glass and click the desired camera image to
zoom in.
EXPORT JPEG – To save a JPEG: Click this button, enter the desired Digital Signature and click OK, then
browse to the desired save location.
PRINT – Opens the print window on your computer.
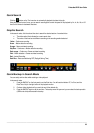
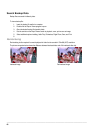
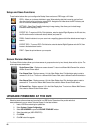
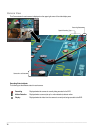
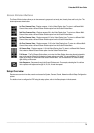
Screen Division Buttons
The Screen Division buttons allows you to view cameras in groups such as two by two, three by three and four by four. The
button options are shown below.
Single Channel View – Displays one camera channel. To return to a different Multi-Camera View, select a
different Screen Division button.
Four Channel View – Displays cameras 1-4 in the Video Display Area. Click the button again to rotate to
cameras 5-8, 9-12, etc. To return to a different Multi-Camera View, select a different Screen Division button.
Nine Channel View – Displays cameras 1-9 in the Video Display Area. Click the button again to rotate to
cameras 9-16. To return to a different Multi-Camera View, select a different Screen Division button.
16 Channel View – Displays cameras 1-16 in the Video Display Area. To return to a different Multi-Camera
View, select a different Screen Division button.
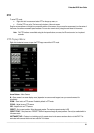
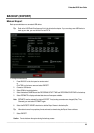
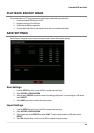
UPGRADE FIRMWARE AT THE DVR
Obtain the latest software release and save the file to a USB Device. Please check the product web site at
www.toshibasecurity.com or contact Technical Support for the latest software.
1. Insert a USB Drive containing the update files.
2. Select System > System Configuration.
3. Select S/W UPGRADE to open the UPGRADE FIRMWARE window.
4. Select the media type (USB HDD/STICK).
5. Click SCAN.
6. Click OK to start the upgrade.