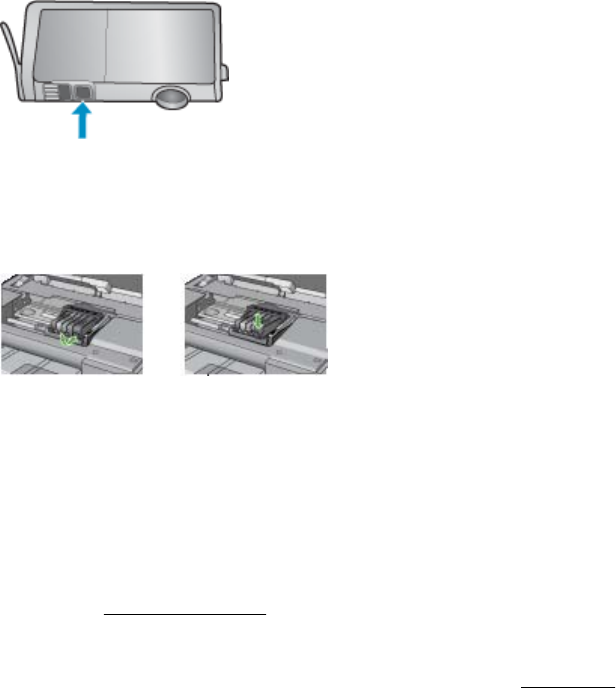
c. Repeat steps a and b for each ink cartridge.
5. For each ink cartridge, wipe the sensor window with a dry swab or lint-free cloth.
The sensor window is an area of clear plastic near the copper or gold-colored metal
contacts on the bottom of the ink cartridge. Try not to touch the metal contacts.
6. Install each ink cartridge in its slot. Press it down until the tab snaps into place.
Match the color and icon on each ink cartridge label to the color and icon on the
slot for that ink cartridge.
7. Close the ink cartridge access door, and check if the error has been resolved.
8. If you still receive the error message, turn the printer off, and then on again.
Solve paper-feed problems
Media is not supported for the printer or tray
Use only media that is supported for the printer and the tray being used. For more
information, see
Media specifications.
Media is not picked up from a tray
• Make sure media is loaded in the tray. For more information, see
Load media. Fan
the media before loading.
• Make sure the paper guides are set to the correct markings in the tray for the
media size you are loading. Also make sure the guides are snug, but not tight,
against the stack.
• Make sure media in the tray is not curled. Uncurl paper by bending it in the
opposite direction of the curl.
• When using thin special media, make sure that the tray is completely loaded. If you
are using special media that is only available in small quantities, try placing the
special media on top of other paper of the same size to help fill the tray. (Some
media is picked up more easily if the tray is full.)
• If you are using thick special media (such as brochure paper), load media so that
the tray is between 1/4 and 3/4 full. If necessary, place the media on top
of other paper of the same size so that the stack height is within this range.
Solve paper-feed problems 123
