50
The Edit Schedule Window Set
Chapter 6 Schedule
tabs other than the “Schedule” tab of the “Content
Management” window.
Toolbar for the Schedule tab
The toolbar contains the following buttons when the
“Schedule” tab is selected.
Schedule tab
Lists the existing schedule data.
There are “Start Time,” “End Time,” “Start Date,” “End
Date,” and “Days” columns on the list, showing which
schedule will be used when. And color tiles are shown in
the “Color” column so that you can recognize the
background color used in the “View Schedule” window to
indicate the day(s) on which a schedule will be used for
playout.
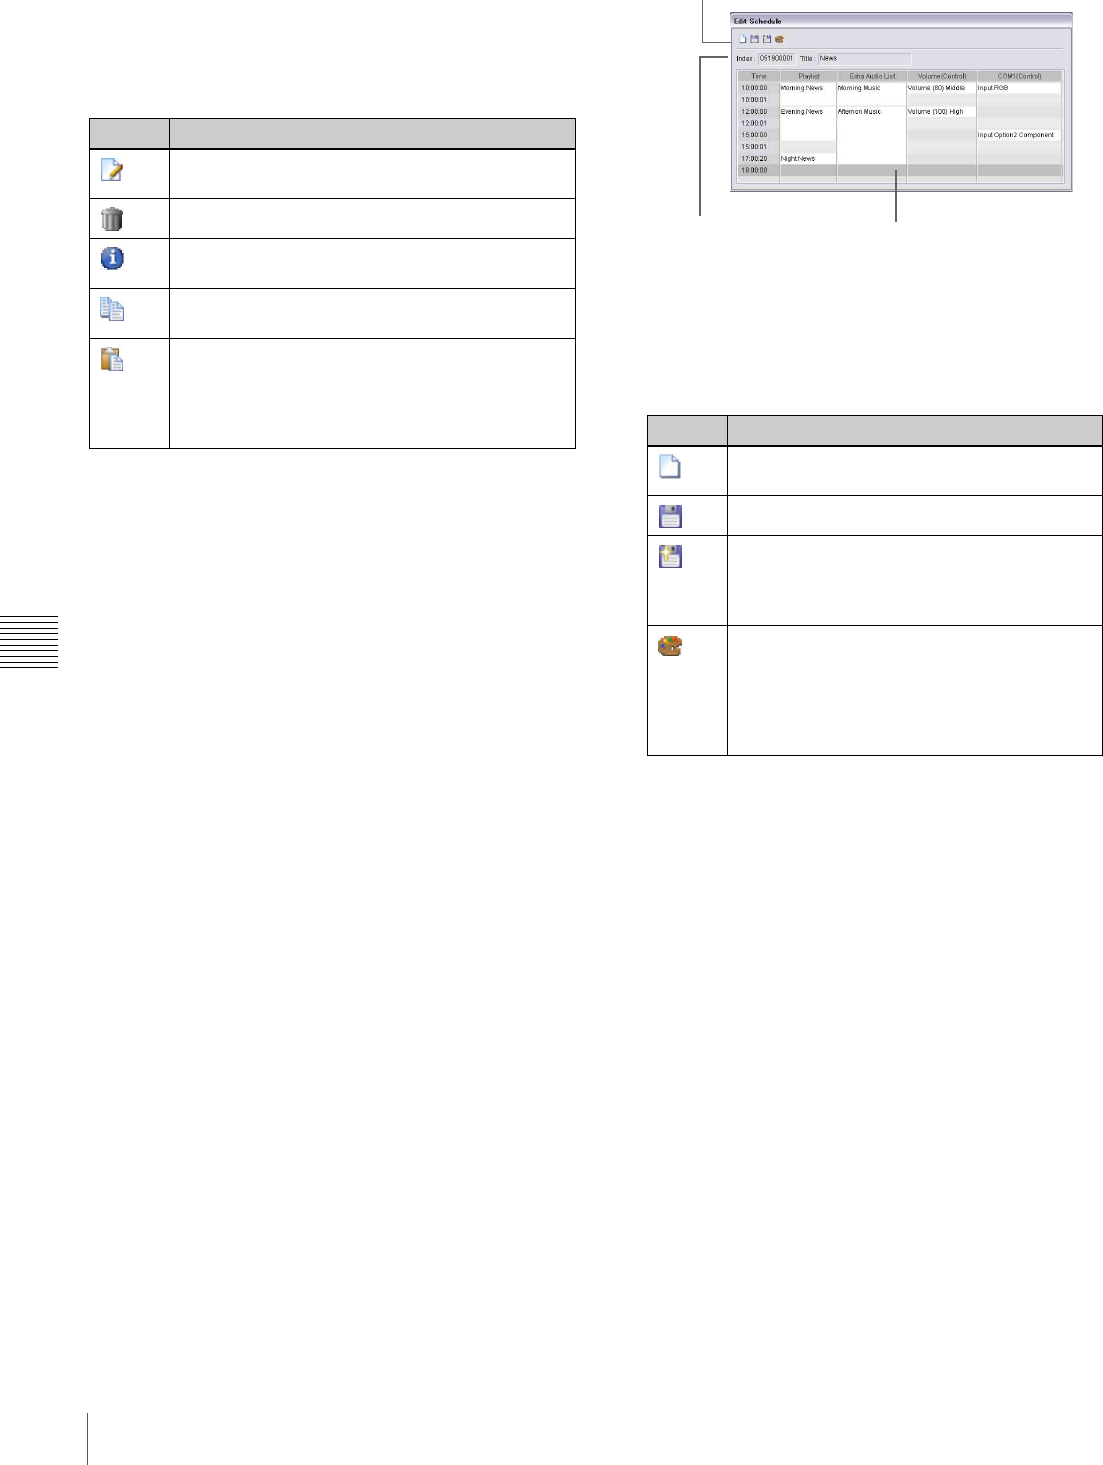
Edit Schedule window
The “Edit Schedule” window is used to create and edit
schedules, by specifying playlists, extra audio lists, and
control commands, in the respective columns, according to
the desired time table.
The VSPA-D7 software manages schedule data classified
by player groups. To create a new schedule, select the
target player group using the “Group” drop-down list box
in the “Content Management” window.
When editing an existing schedule, the content of the
schedule selected in the “Content Management” window is
displayed in this window.
The “Edit Schedule” window consists of the following
three parts:
a Toolbar
Provides the following buttons that correspond to the
functions related to schedule editing.
b Information on the schedule
Shows the index number and title of the displayed
schedule.
c Schedule
A “schedule,” a list that consisting of playlists, extra
audio lists, and control commands to be played on a
player, is displayed.
In each cell in which a playlist, extra audio list, or
control command is specified, its title is displayed.
When you move the mouse pointer over a title, a
popup window showing the index number, type, title,
and duration appears.
The “Start Time” column shows the operation hours of
the players, that is, the time when the players are
powered on. Depending on the system setting, the time
when the players are powered off is shown by a red
background color.
To create a schedule, drag the desired playlists/extra
audio lists/control commands from the “Content
Management” window and then drop them onto the
Button Description
Displays the content of the selected schedule in
the “Edit Schedule” window to edit it.
Deletes the selected schedule.
Opens a window for modifying the title and/or type
of the selected schedule.
Copies the selected schedule to the Windows
Clipboard.
Pastes the schedule stored on the Windows
Clipboard as a new schedule.
By using the copy and paste functions, you can
create a new schedule based on an existing
schedule.
Button Description
Clears the displayed schedule and starts
creating a new schedule.
Saves the displayed schedule.
Saves the displayed schedule as a new one,
with a new index number.
The “Schedule Properties” window appears
when this button is clicked.
Enables you to edit labels for the colors used
on the calendar in the “View Schedule”
window.
The “Information on Schedule” window, in
which you can edit the labels, appears when
this button is clicked.
3 Schedule
2 Information on the
schedule
1 Toolbar
