


AXIS 211M - Event Configuration
24
Configuration example:
1. Click Add scheduled on the Event types page.
2. Enter a descriptive name for the event, e.g. “Scheduled e-mail upload.”
3. Set the priority (High, Normal or Low).
4. Set the Activation Time parameters (24h clock) when the event will be active, e.g. start on Sundays at
13.00 with a duration of 12 hours.
5. Set the When Activated... parameters, i.e. set what the camera will do at the specified time, for
example send uploaded images to an e-mail address.
6. Click OK to save the Event in the Event Types list.
Please see the online help for descriptions of each available option.
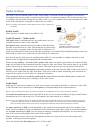
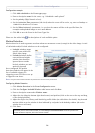
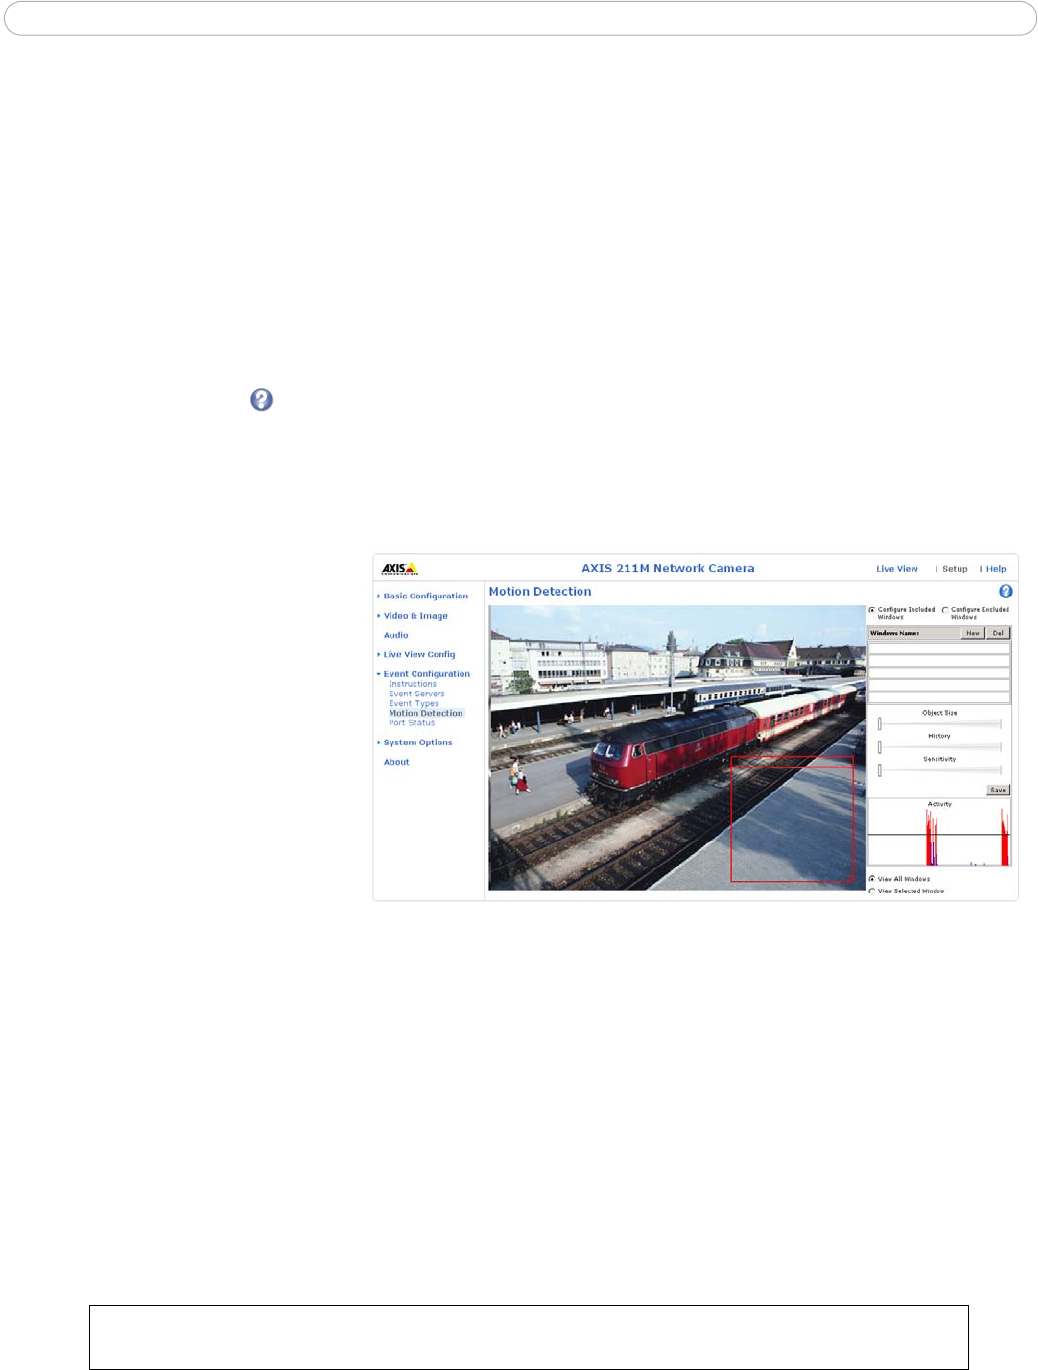
Motion Detection
Motion detection is used to generate an alarm whenever movement occurs (or stops) in the video image. A total
of 10 Include and/or Exclude windows can be configured.
• Included windows target
specific areas within the
whole video image
• Excluded windows define
areas within an Include
window that should be
ignored (areas outside
Include windows are auto
-
matically ignored)
Once configured, the motion
detection windows will appear in the
list of available triggers, for
triggering events. See
How to set up
a triggered event above.
Note: Using the motion detection feature may decrease the camera’s overall performance.
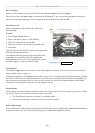
Configuring Motion Detection
1. Click Motion Detection in the Event Configuration menu.
2. Click the Configure Included Window radio button and click New.
3. Enter a descriptive name under Window name.
4. Adjust the size (drag the bottom right-hand corner) and position (click on the text at the top and drag
to the desired position).
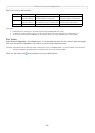
5. Adjust the Object size, History and Sensitivity profile sliders (see table below for details). Any detected
motion within an active window is then indicated by red peaks in the Activity window (the active
window has a red frame).
6. Click Save.
To exclude parts of the Include window, click the Configure Excluded Windows button and position the
Exclude window as required, within the Include window.