


Connecting to a Printer
68
* appears on images marked with a
transfer order. Press to cancel the
transfer order.
**After closing the menu the camcorder returns
to the index screen.
Erasing All Transfer Orders
Connecting to a Printer
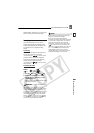
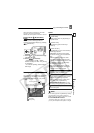
Printing Still Images – Direct Print
The camcorder can be connected to any
PictBridge compatible printer. You can mark
the still images you want to print and set the
desired number of copies as a print order
( 71).
Canon printers:
SELPHY CP and SELPHY
DS printers and PIXMA printers marked with
the PictBridge logo.
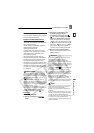
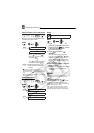
Connecting the Camcorder to the Printer
1 Insert the memory card containing
the still images you want to print.
2 Turn on the printer.
3 Connect the camcorder to the
printer using the USB connection
–connection type ( 64)– shown
in the previous section PC
Connection Diagrams.
• appears and changes to .
• The (print/share) button lights
up and the current print settings will be
displayed for approx. 6 seconds.
IMPORTANT
If continues to flash (for more than 1
minute) or if does not appear, the camcorder
is not correctly connected to the printer. In such
case, disconnect the USB cable and turn off the
camcorder and the printer. After a short while,
turn them on again, set the camcorder to
mode and restore the connection.
NOTES
will appear for images that cannot be
printed.
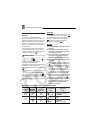
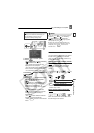
MENU
( 22)
CARD OPERATIONS
TRANSFER ORDER
**
Bring ( ) the cursor to
the image you want to
transfer and press .*
Repeat this step to set
transfer orders for additional
images.
(10)
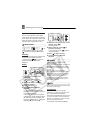
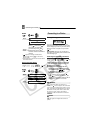
MENU
( 22)
CARD OPERATIONS
TRANS.ORD.ALL ERASE
YES
MENU
MENU
SET
SET
MENU
MENU
Connecting to a Printer
( 10)
1