


Connecting to a Printer
72
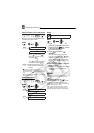
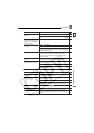
Setting Print Orders from the Index Screen
Move the zoom lever toward W to enter
the still image index screen.
* and the number of copies appear on
images marked with a print order. To cancel
the print order set ( ) the number of copies
to 0.
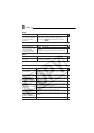
**After closing the menu the camcorder returns
to the index screen.
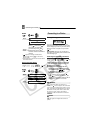
Erasing All Print Orders
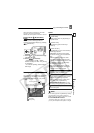
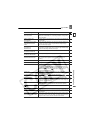
Printing
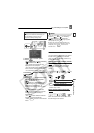
1 Connect the camcorder to the
printer using the USB connection –
connection type ( 64)– shown
in the previous section PC
Connection Diagrams.
2 Press and select ( )
[ PRINT].
• The print setting menu appears.
• The error message “SET PRINT
ORDER” appears if you connect a
printer with direct print function and
select [ PRINT] without having set
any print orders.
3 Make sure that [PRINT] is selected
and press .
Printing starts. The print setting menu
disappears when the printing is
completed.
NOTES
Depending on the connected printer, you can
change some print settings before step 3
( 69).
Cancel Printing/Printing Errors
( 70)
Restarting Printing:
Press and select
[ PRINT]. Select [RESUME] in the print
setting menu and press . The remaining
images will be printed.
Printing cannot be restarted when the print
order settings have been changed or if you
deleted a still image with print order settings.
(10)
MENU
( 22)
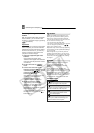
CARD OPERATIONS
PRINT ORDER
Bring ( ) the cursor to
the image you want to print
and press .
**
Set ( ) the desired number
of copies and press .*
Repeat these steps to set
print orders for additional
images.
(10)
MENU
( 22)
CARD OPERATIONS
PRINT ORD.ALL ERASE
YES
MENU
SET
MENU
SET
MENU
MENU
PRINT
MENU
( 22)
1
MENU
SET
MENU
SET