


9
DCS-6620G User’s Manual
D-Link Systems, Inc.
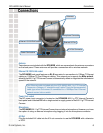
Hardware Installation
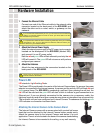
Attaching the Internet Camera to the Camera Stand
Hardware Installation
The Internet Camera comes with a camera stand with a swivel ball screw
head that can be attached to the Internet Camera bottom socket cavity.
Attach the camera stand to the Internet Camera and station it for your
application. There is a hole located in the base of the camera stand allowing
the Internet Camera to be mounted to the ceiling, or any wall securely.
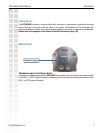
Power LED
LED stands for Light-Emitting Diode.
The Power LED is positioned in the center of the Internet Camera base. As soon as the power
adapter is connected to the Internet camera, the power and the activity LED will flash red and
green several times. The DCS-6620G is conducting a self-test. Upon passing the self-test, the
red LED will be solid and the green LED will start to blink to indicate a good connection to an
Ethernet port.
If you are directly connected to the camera via a crossover cable, the
light may cycle on and off and your computer
may show an intermittent loss of connectivity.
This is normal until you have configured your Internet Camera. The absence of a blinking green
LED indicates no connection has been made.
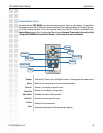
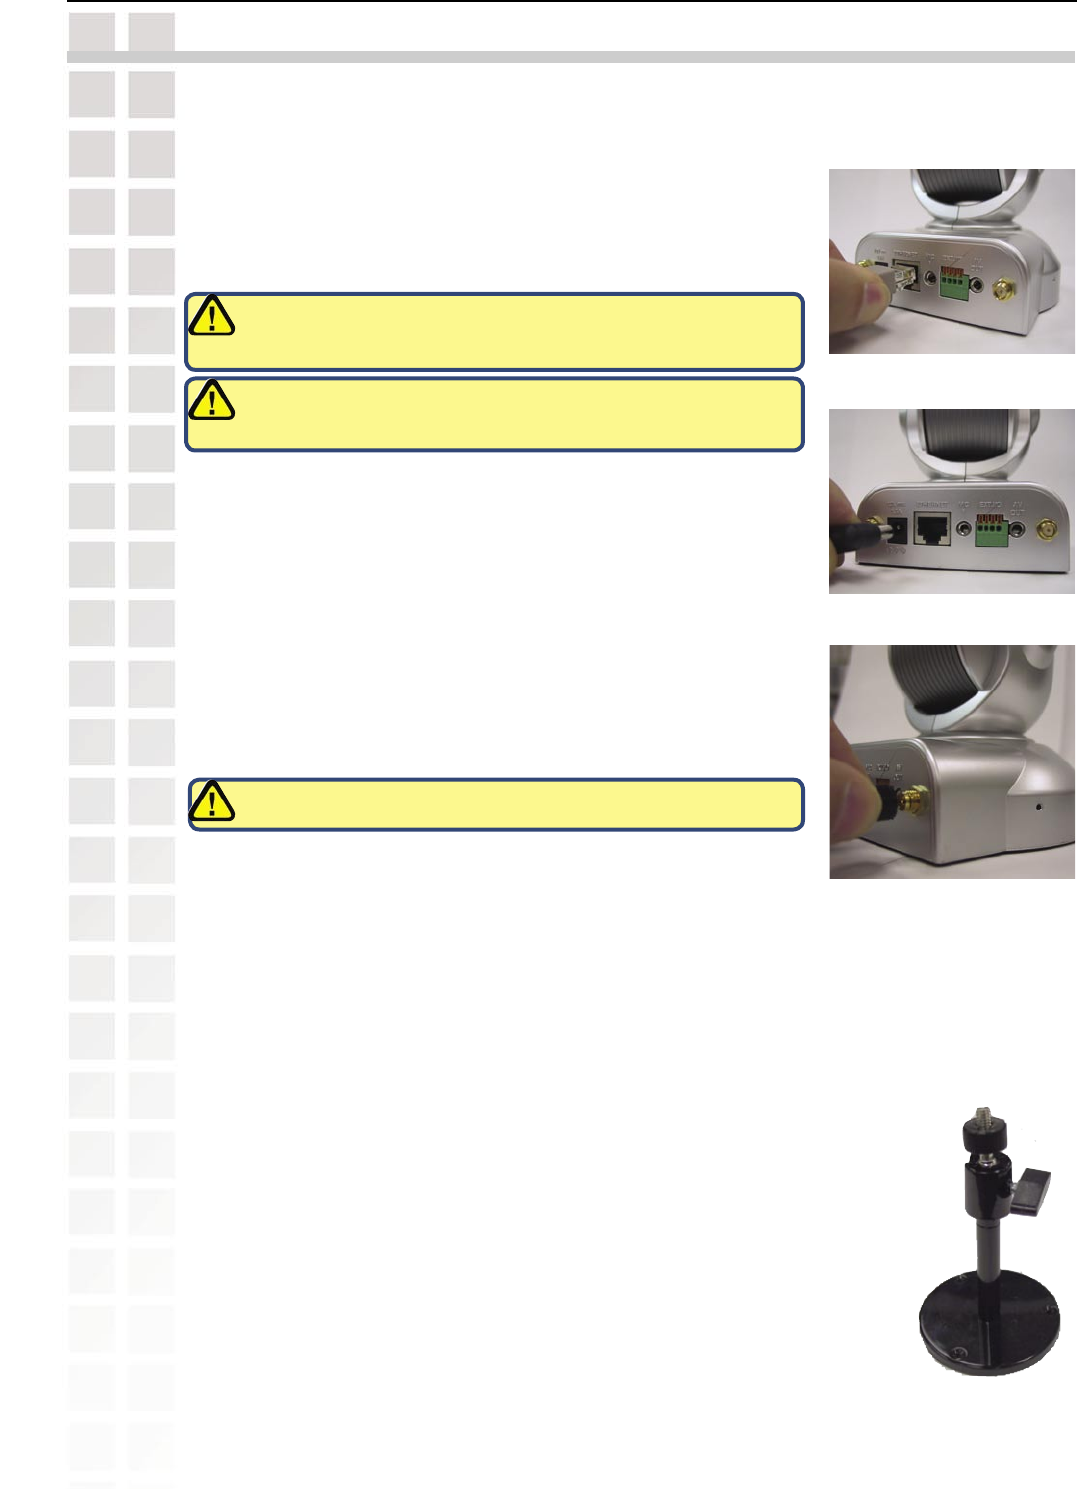
1 Connect the Ethernet Cable
Connect one end of the Ethernet cable to the network cable
connector located on the back panel of the DCS-6620G, and
attach the other end to a router, switch, or
gateway on the
network.
If you connect this camera directly to a PC, you will need a cross-over Ethernet
cable. If you plug the camera into a hub or router, you will be able to use the
cable included with your camera.
2 Attach the External Power Supply
Attach the external power supply to the DC power input connector
located on the backpanel
of the DCS-6620G (labeled 12V),
and connect it to an AC power outlet.
Both the
red
and
green
LEDs will flash alternately
and only the red
LED will remain lit. The green
LED will not come on until you have
configured
your camera.
3 Attach the Antennas
Attach the two antennas to the connectors located on the
back panel of the DCS-6620G.
It is required that an Ethernet cable is used during initial setup. Once your wireless
configuration
is set, you may disconnect the Ethernet cable and reboot your
camera to connect to your wireless network.
Power source is confirmed when the LED Power Indicator on the 802.11g PTZ
Internet Camera is illuminated.