


36 Printing From Start to Finish
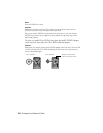
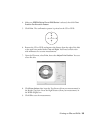
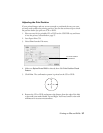
6. To curve a single line of text, click the text in the main window and drag the
red “handle” up or down. Then adjust it using the other handles that appear.
7. When you’re finished, choose
Save as from the File menu to save your file.
Note:
For additional help with Epson Print CD, open the Help menu in Epson Print CD and
select EPSON Print CD Help.
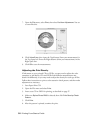
Printing on a CD or DVD
After you have created your design and loaded a CD or DVD, you’re ready
to print.
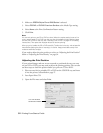
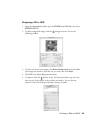
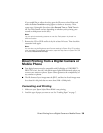
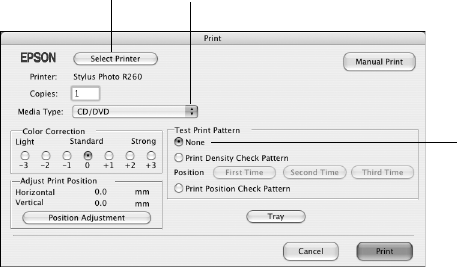
1. Open the File menu and select
Print.
2. Make sure
Stylus Photo R260 is selected, then click Print.
Note:
You can only print on one CD or DVD at a time. When the copies setting is set to 2 or
more, remove each CD or DVD from the tray after it has been printed, and then place
the next CD or DVD on the tray (see “Inserting a CD or DVD” on page 27 for loading
instructions). Then press the ) paper button to resume printing.
After you print, handle the CD or DVD carefully. To allow the ink to dry, wait at least 24
hours before playing the disc or inserting it in a drive. Keep printed discs away from
moisture and direct sunlight.
If you need to adjust the print position or color, see “Adjusting the Print Position”
on page 37 or “Adjusting the Print Density” on page 38.
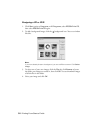
Click here and select
Stylus Photo R260
Select your CD or
DVD type
Click None