


Aligning the Print Head 51
10. If you need to replace another ink cartridge, repeat steps 6 through 9 before
continuing with step 11.
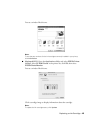
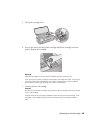
11. Close the cartridge cover.
12. Close the printer cover and press the H ink button. The printer begins
charging the ink delivery system.
The green P power light flashes and the printer makes noise. Charging takes
about one and a half minutes. When it’s finished, the green P power light
stops flashing and stays on, and the red H ink light goes out.
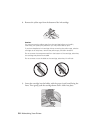
Caution:
Never turn off the printer while the green P power light is flashing, unless the
printer hasn’t moved or made noise for more than 5 minutes.
Do not insert the CD/DVD tray until ink charging is complete.
Note:
If the red H ink light flashes after the print head moves to its home (far right)
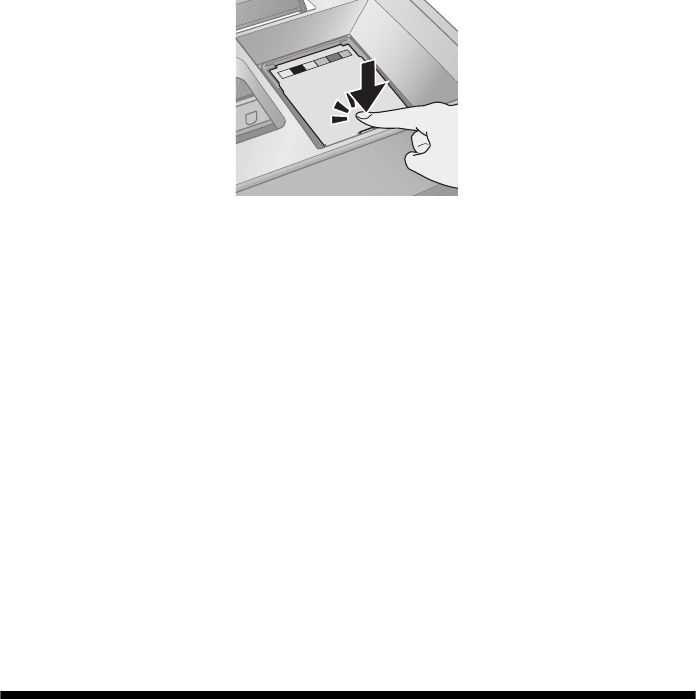
position, the ink cartridge may not be installed properly. Press the H ink button two
or more times (until the print head moves to the ink cartridge replacement
position), open the cartridge cover, and press down the ink cartridge until it clicks
into place.
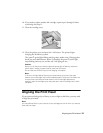
Aligning the Print Head
If your printouts look grainy or blurry, or you see light or dark lines, you may need
to align the print head.
Note:
You may also see lines in your printouts if your cartridges are low on ink or you need to
clean the print head.