29
To change the flash settings:
1 Turn the camera on. See “Turning on your camera” on page 13.
2 Turn the mode dial to one of the photography modes.
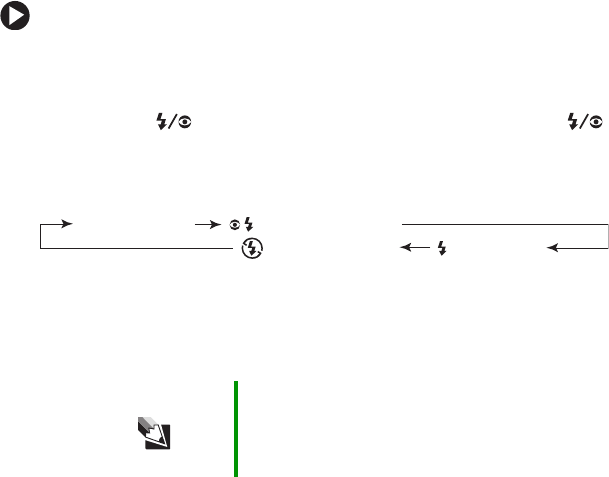
3 Press the button to select the Flash mode. Press the
button one or more times, until the icon for the setting you want
to use is displayed below the battery icon on the right corner of
the LCD:
4 Compose the picture.
5 Focus the camera and take the picture. See “Setting the focus”
on page 26.
Setting the picture size and quality
The camera resolution (picture size) and quality settings determine the
number of pixels (dimensions), picture file size, and compression
ratio for your pictures. These settings affect the number of pictures
that can be stored on a memory card. As you become more familiar
with your camera, we recommended that you try each resolution
and quality setting to understand the effects that these settings have
on your pictures.
Your camera has four resolution (picture size) settings:
■ 2816 x 2112 – approximately 6 megapixels
■ 2272 x 1704 – approximately 4 megapixels
■ 1600 x 1200 – approximately 2 megapixels
■ 640 x 480 – less than .5 megapixels
To learn more about the definition for megapixels, see the FAQ
“Q: What does the term megapixel mean?” on page 74.
Your camera has three picture quality settings:
■ Fine
■ Standard
■ Economy
Tips & Tricks After the flash fires, it takes about 5 to 10 seconds
to recharge the flash for the next picture. As the
flash charges, the viewfinder LED turns orange.
When fully charged, the LED turns off.
[No icon] Auto Red-eye forced flash
Suppressed flash Forced flash


