


45
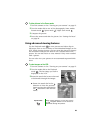
To set the self-timer:
1 Turn the camera on. See “Turning on your camera” on page 13.
2 Turn the mode dial to one of the photography
modes.
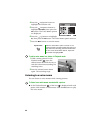
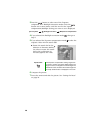
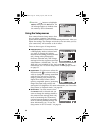
3 Press the button to select the Self-timer
mode. Press the Self-timer button one or
more times, until the icon for the self-timer
setting you want to use is displayed.
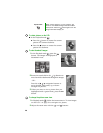
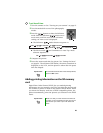
■ The Self-timer mode selection sequence is:
■ The Movie mode and Continuous or Auto Exp. mode
selection sequence is:
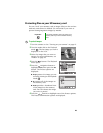
4 Compose the picture.
5 Focus the camera and take the picture. See “Setting the focus”
on page 26. The self-timer LED flashes, the timer countdown is
displayed on the LCD, and the picture is taken after the preset
time has elapsed.
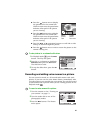
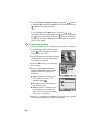
Adding printing information on the SD memory
card
Digital Print Order Format (DPOF) lets you embed printing
information on your memory card. You can select the pictures and
the number of prints to make in the camera’s DPOF menu. When
you insert the memory card into a DPOF compatible printer, the
printer automatically prints the pictures you selected in the DPOF
menu.
Tips & Tricks To cancel the self-timer after it has already started,
press the SET button.
Tips & Tricks Make sure that you have the Date and Time set
correctly, so the correct date and time print on the
pictures that you select to print with dates and
times.
Off 10 seconds 2 seconds
Interval 10 + 2 seconds
Off 10 seconds 2 seconds