


.
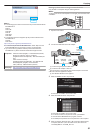
Click
Memo :
0
The
following types of discs can be used on the provided software Everio
MediaBrowser 4.
DVD-R
DVD-R DL
DVD-RW
DVD+R
DVD+R DL
DVD+RW
0
The following formats are supported by the provided software Everio
MediaBrowser 4.
AVCHD
DVD-Video*
http://www.pixela.co.jp/oem/jvc/mediabrowser/e/
0
To view the help file of Everio MediaBrowser 4, select “Help” from the
Everio MediaBrowser 4’s menu bar or press F1 on the keyboard.
0
If you encounter any problems with the provided software Everio
MediaBrowser 4, please consult the “Pixela User Support Center”.
Telephone USA and Canada (English): +1-800-458-4029 (toll-free)
Europe (UK, Germany, France, and Spain)
(English/German/French/Spanish): +800-1532-4865 (toll-
free)
Other Countries in Europe
(English/German/French/Spanish): +44-1489-564-764
Asia (Philippines) (English): +63-2-438-0090
China (Chinese): 10800-163-0014 (toll-free)
Homepage http://www.pixela.co.jp/oem/jvc/mediabrowser/e/
Backing Up Files Without Using Provided Software
Copy the files to a computer using the following method.
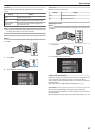
Memo :
To select/move cursor towards up/left or down/right, press the button UP/<
or DOWN/>.
.
1
Open the LCD monitor.
.
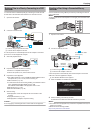
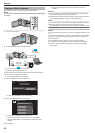
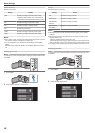
2
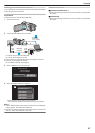
Connect the USB cable and the AC adapter.
.
AC Adapter
To AC Outlet
(110 V to 240 V)
To DC Connector
To USB
Connector
To USB
Connector
USB Cable
(Provided)
Computer
A Connect using the provided USB cable.
B Connect the AC adapter to this unit.
0
This unit powers on automatically when the AC adapter is connected.
0
Be sure to use the supplied AC adapter.
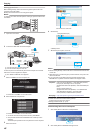
C The “SELECT DEVICE” menu appears.
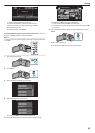
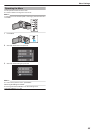
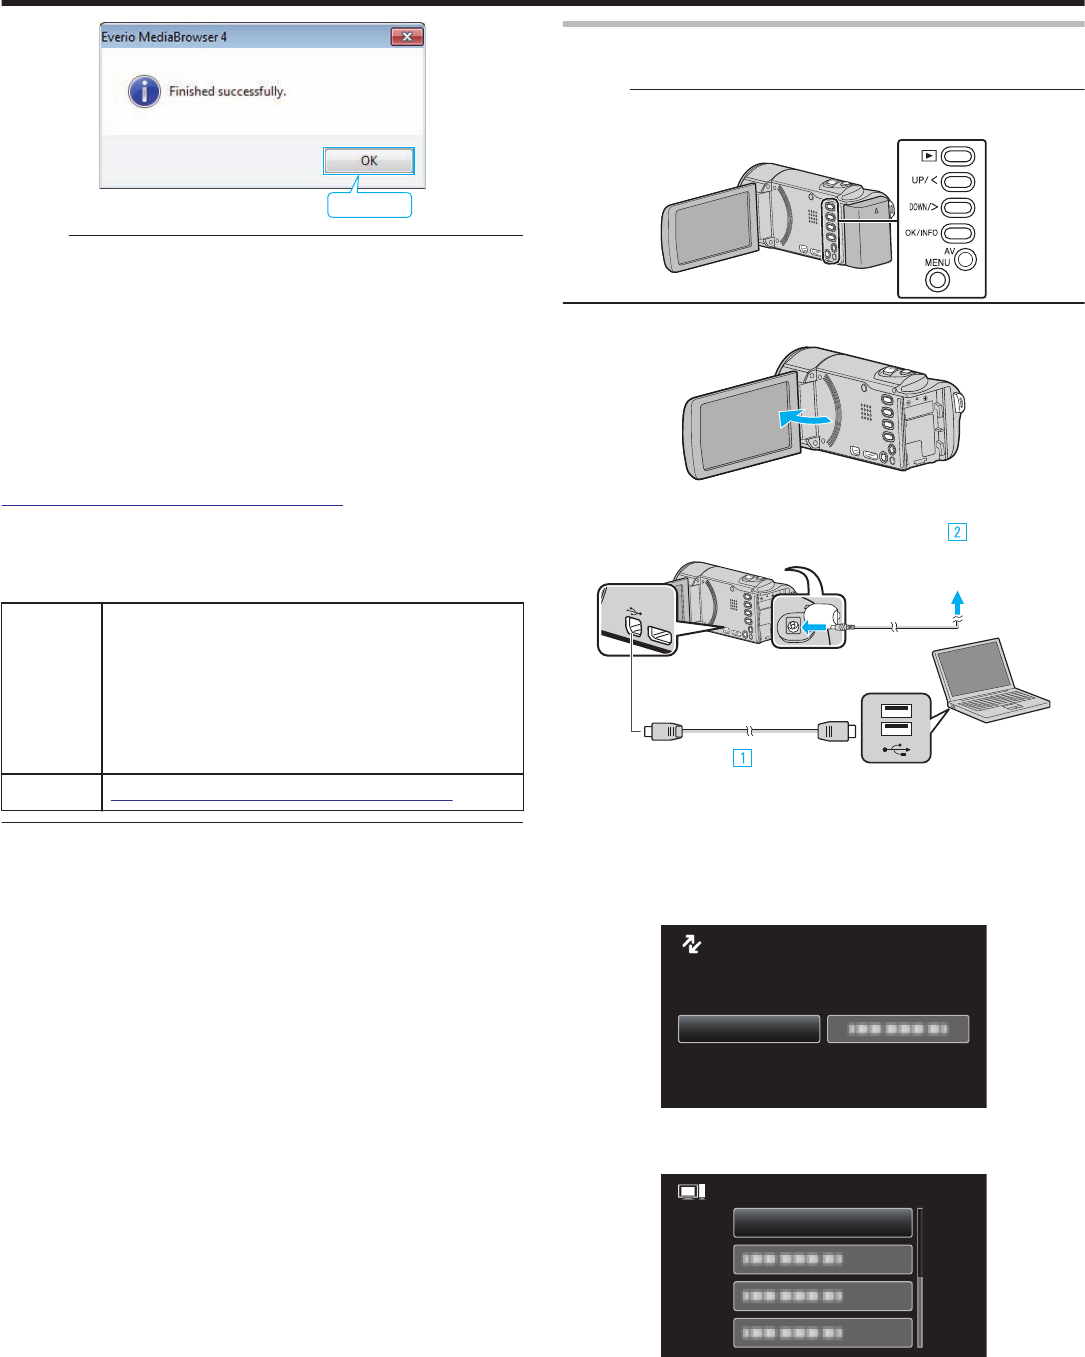
3
Select “CONNECT TO PC” and press OK.
.
CONNECT TO PC
TYPE TO CONNECT
SELECT DEVICE
SELECT DEVICE
0
Press UP/< or DOWN/> to move the cursor.
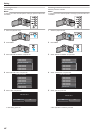
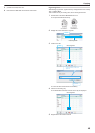
4
Select “PLAYBACK ON PC” and press OK.
.
PLAYBACK ON PC
CONNECT TO PC
0
Press UP/< or DOWN/> to move the cursor.
0
To cancel and return to the previous screen, press MENU.
0
Close the Everio MediaBrowser 4 program, if it starts.
0
The subsequent operations are to be performed on the computer.
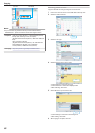
5
Select “Computer” (Windows Vista) / “My Computer” (Windows XP) /
“Computer” (Windows 7) from the “Start” menu, then click on the
“JVCCAM_MEM” or “JVCCAM_SD” icon.
Copying
51