


E20
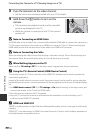
Connecting the Camera to a Printer (Direct Print)
Reference Section
Printing Individual Images
After connecting the camera to the printer correctly (E19), print pictures by
following the procedure below.
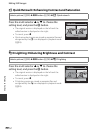
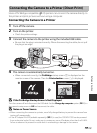
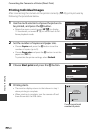
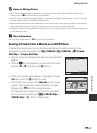
1 Use the multi selector to choose the picture to
be printed, and press the k button.
• Rotate the zoom control toward f (h) to display
12 thumbnails, or toward g (i) to switch back to full-
frame playback mode.
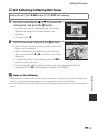
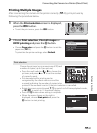
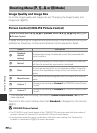
2 Set the number of copies and paper size.
• Choose Copies and press the k button to set the
number of copies (up to 9).
• Choose Paper size and press the k button to set the
paper size (E23).
To prioritize the printer settings, select Default.
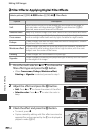
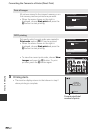
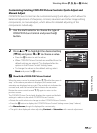
3 Choose Start print and press the k button.
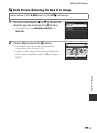
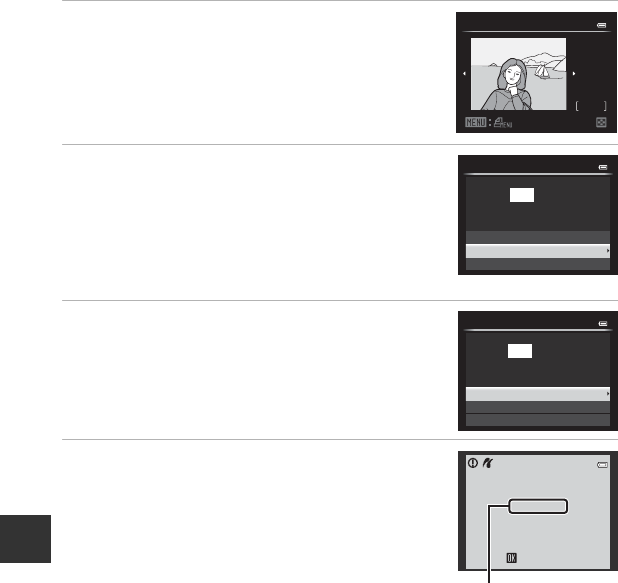
4 Printing starts.
• The monitor display returns to that shown in step 1
when printing is complete.
• When printing is complete, turn the camera off and
then disconnect the USB cable.
32
32
NO.
2013
15/05
Print selection
Paper size
Copies
Start print
1 prints
PictBridge
Paper size
Copies
Start print
4 prints
PictBridge
2 / 4
Cancel
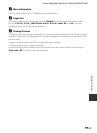
Printing
Current print/total
number of prints