44
Using shooting settings (scene les)
Settings according to a variety of shooting
conditions are stored in the positions on the
<SCENE FILE> dial (<F1> to <F6>).
When shooting, you can use the <SCENE FILE>
dial to immediately read out required les.
•
The following les are stored as factory
settings.
<F1>: [SCENE]
File suitable for normal shooting.
<F2>: [SCENE FLUO.]
File suitable for shooting under uorescent
lights (indoor shooting).
<F3>: [SCENE SPARK]
File suitable for shooting with fuller variations
of resolution, coloring, and contrast.
<F4>: [SCENE B-STR]
File suitable for broadening the contrast of
dark areas (such as shooting sunsets).
<F5>: [SCENE CINE V]
File suitable for shooting movie-like scenes
where contrast is emphasized. (Even when
the scene le is changed, the recording
format is unchanged. It must be set with the
[REC FORMAT] item on the [RECORDING
SETUP] screen. See page 89.)
<F6>: [SCENE CINE D]
File suitable for shooting movie-like scenes
where dynamic range is emphasized. (Even
when the scene le is changed, the recording
format is unchanged. It must be set with the
[REC FORMAT] item on the [RECORDING
SETUP] screen. See page 89.)
Changing scene le settings
The setting value of a scene le can be changed.
Also, changed scene les can be stored at each
position of the <SCENE FILE> dial (<F1> to <F6>).
Example: Change the name of the scene le
1
Turn the POWER/MODE switch of the
camera <ON>. (Page 30 of Vol.1)
2
Turn the <SCENE FILE> dial to select a
scene file to change.
3
Select the setup menu [SCENE FILE] screen.
•
Menu operation (Page 31 of Vol.1)
•
Operations can be performed with buttons on
the remote control that correspond to those on
the camera. For details, see “Remote control”
(Page 24 of Vol.1).
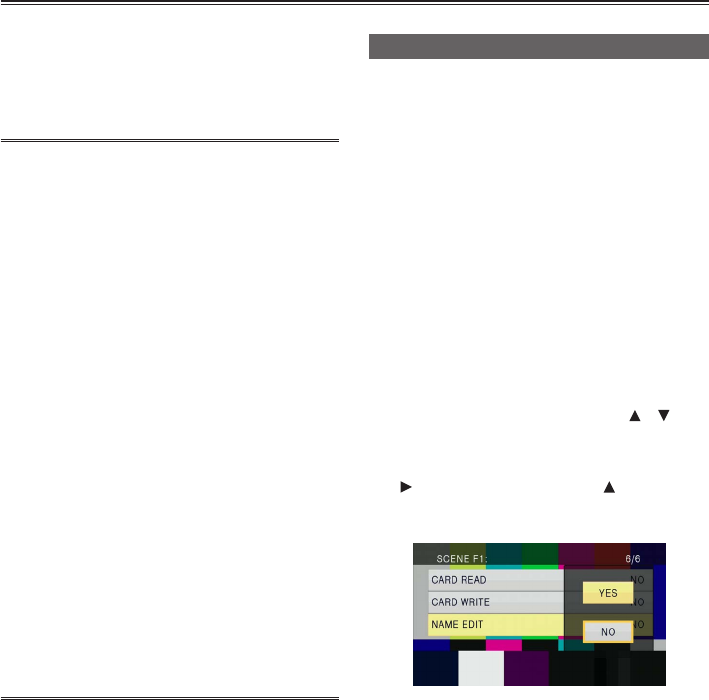
4
Tilt the OPERATION lever in the < >< >
directions to select the [NAME EDIT] item.
5
Push the OPERATION lever (or tilt in the
<
> direction) and tilt in the < > direction
to select [YES], then push the OPERATION
lever again.


