Operating Instructions
77
10.Click [Save] after confirming the settings.
• New settings are saved. The buffered images are deleted.
• When finished, "Success!" is displayed.
11.Click [Go to Image Buffer/Transfer page].
• The Image Buffer/Transfer page is displayed.
Notes
• If you set a short interval to transfer image to a mobile phone, many E-
mails may be sent to it leading to a large phone bill. Therefore, we
recommend you to set a long interval. In an emergency situation, the E-
mail transfer can be stopped by enabling privacy mode using a mobile
phone (see page
27).
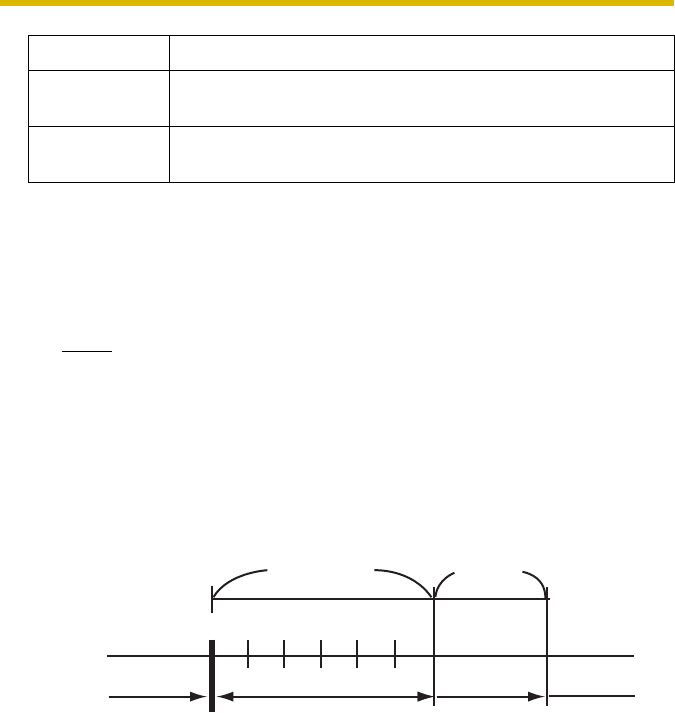
• Sensor transfer stops its operations until the camera finishes all transfers.
For example, if the camera transfers 3 images per minute and 6 images in
total with setting 1 minute of sensor deactivation time, the sensor will be
in the following operation.
• Buffered images will be deleted by doing the following.
• Turning off the camera.
• Saving the settings of Image Buffer/Transfer or Date and Time.
• Executing [Restart], [Update Firmware] or [Reset to Factory Default].
• Clicking [Delete Buffered Images] on the Image Buffer/Transfer page
(see page
68).
Setting Description
Disable • The camera does not send an E-mail notification when
buffering or transferring image.
Enable • The camera sends an E-mail notification (up to 3
destinations) when buffering or transferring image.
Detectable UndetectableUndetectable
1st 2nd 3rd 4th 5th 6th
120 seconds
A heat change occurs.
Detectable
Sensor
deactivation time
1 minute


