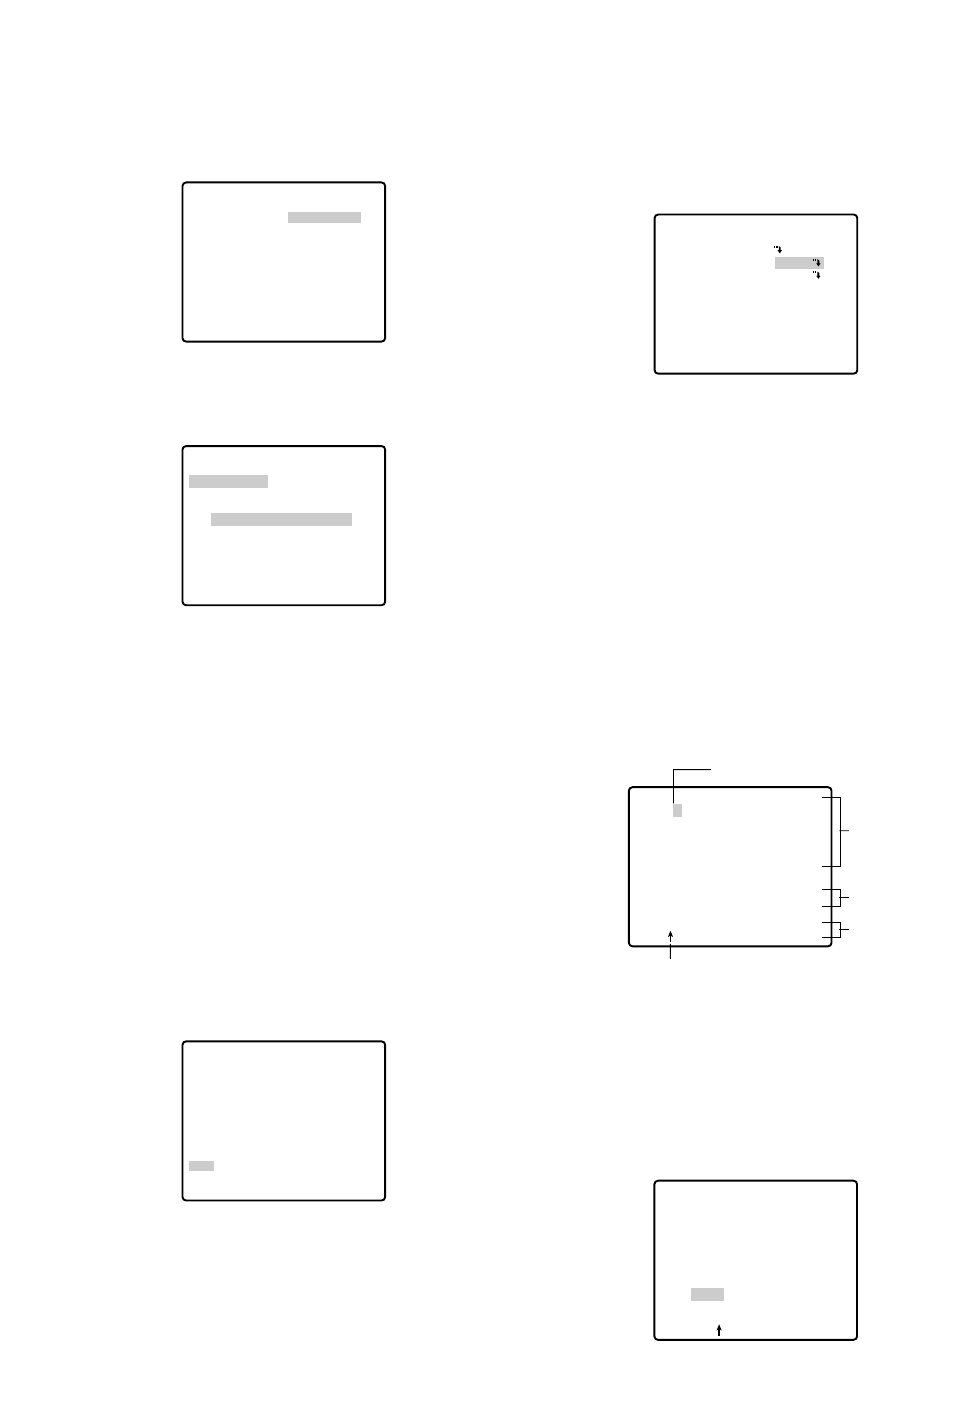
● Preset Identification Setting (PRESET
ID)
1. Move the cursor to PRESET ID on the preset setting
menu and select ON or OFF with the joystick.
The factory default setting is OFF.
ON: Preset ID appears on the monitor screen.
OFF: Preset ID does not appear.
2. Press the CAM (SET) button to display the preset ID
setting menu.
To Enter a New Preset ID
(1) Move the cursor to the desired character using
the joystick, and press the CAM (SET) button.
(2) The selected character appears in the editing
area. (The pointer in the editing area moves to
the right automatically at this moment.) To enter
a blank, select SPACE.
(3) Repeat the above procedure until all characters
are entered.
To Copy a Preset ID from Another Position
(1) Move the cursor to COPY and press the CAM
(SET) button. The preset ID in the preceding
position is immediately shown. Each consecutive
pressing of the CAM (SET) button displays the ID
preceding the one currently displayed.
PRESET NO. 1*
POSITION SET
PRESET ID
ALC/MANUAL
DWELL TIME
SCENE FILE
PRESET SPEED
RET DEL
ON
ALC
10S
1
••••••••|
L H
Command
Editing
Area
Character
Area
Pointer
Character Cursor
PRESET NO. 1*
0123456789
ABCDEFGHIJKLM
NOPQRSTUVWXYZ
().,'":;&#!?=
+-*/%$
SPACE
COPY POSI RET RESET
DOOR............
PRESET NO. 1*
0123456789
ABCDEFGHIJKLM
NOPQRSTUVWXYZ
().,'":;&#!?=
+-*/%$
SPACE
COPY POSI RET RESET
DOOR............
-28-
4. To Set the Lens Zoom and Focus Positions
(1) Move the cursor to PUSH SET for ZOOM/FOCUS
and press the CAM (SET) button. The ZOOM/
FOCUS setting menu appears.
(2) Select zoom/focus positions with the joystick, and
then press the CAM (SET) button.
The positions are set and the screen returns to the
position setting menu.
Notes:
• When the camera is used at a nearly horizontal
angle, the focus may not be adjustable to a high
level of accuracy because of the molding distor-
tion of the dome cover.
• If you move the cursor to the position number
and move the joystick right or left, the position
number can be selected.
The selected preset position number can also be
set after pressing the CAM (SET) button.
• The preset and camera IDs appear in the lower-
left corner of the position setting menu after set-
ting them.
5. Move the cursor to RET and press the CAM (SET)
button to return to the preset setting menu.
→
PUSH SET
→
PUSH SET
** POSITION 1 **
PAN/TILT
ZOOM/FOCUS
PAN OFFSET SET
← −
0.0
→
RET
FLOOR1
DOOR
** POSITION 1 **
PAN/TILT
ZOOM/FOCUS
U ZOOM D/L FOCUS R
PAN OFFSET SET
← −
0.0
→
RET
FLOOR1
DOOR
→
PUSH SET
→
PUSH SET
→
PUSH SET
→
PUSH SET
** POSITION 1 **
PAN/TILT
ZOOM/FOCUS
PAN OFFSET SET
← −
0.0
→
RET
FLOOR1
DOOR
