C2688M-C (12/08) 27
Add a Recorder to the EDI5000 Configuration
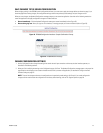
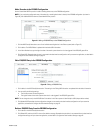
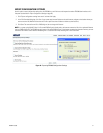
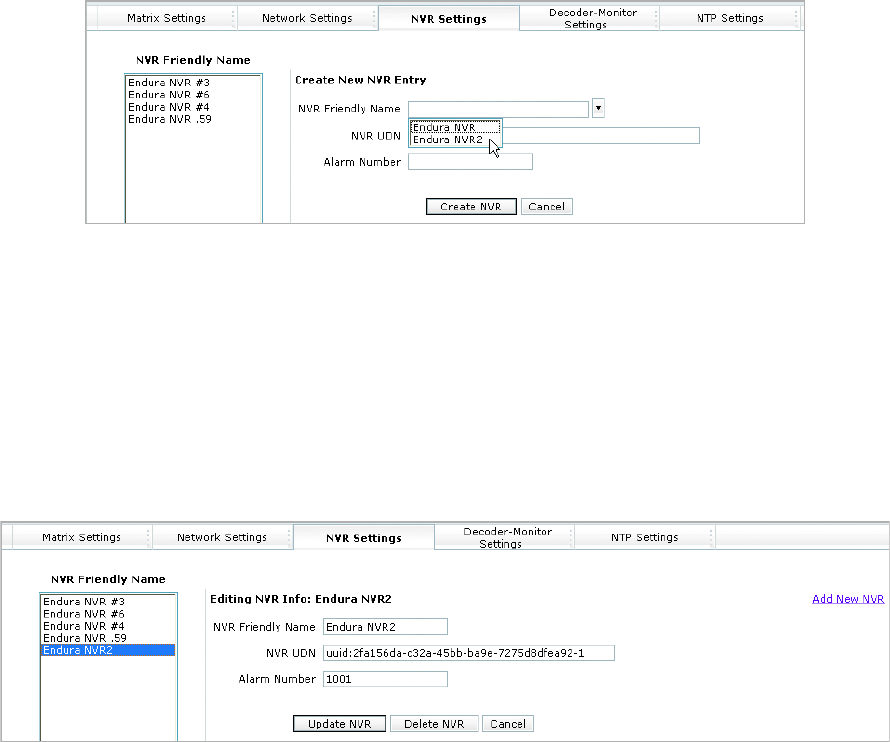
Use the Create New NVR Entry section to add a recording device entry to the EDI5000 configuration.
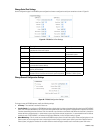
NOTE: If you are viewing configuration entry information for a recording device that is already in the EDI5000 configuration (as shown in
Figure 28), click Add New NVR to view the Create New NVR Entry section.
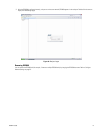
Figure 27. Adding a DVR/NVR Entry to the EDI5000 Configuration
1. Click the NVR Friendly Name box to see a list of available recording devices in the Endura system (refer to Figure 27).
2. Click a device. The NVR UDN box is updated with the device UDN information.
3. In the Alarm Number box, type the logical number of the matrix system alarm that is to be triggered if the DVR/NVR goes offline.
4. Click Create NVR. Remember that the entry is not saved to the data interface configuration until you restart the application, as described in
Configure the Data Interface Settings on page 22.
Edit a DVR/NVR Entry in the EDI5000 Configuration
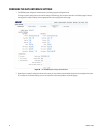
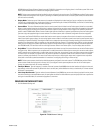
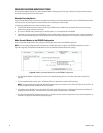
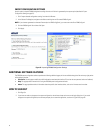
Figure 28. Editing a DVR/NVR Entry
1. Click a device in the NVR Friendly Name section. The settings in the Editing NVR Info section are updated with the device information.
2. You can modify the following settings:
• The friendly name of the recording device
• The logical number of the matrix system alarm that is to be triggered if the DVR/NVR goes offline
NOTE: Do not change the entry in the NVR UDN box. Each device in the Endura system is identified by its UDN (unique device number).
3. Click Update NVR. Remember that the configuration changes are not saved to the data interface configuration until you restart the
application, as described in Configure the Data Interface Settings on page 22.
Delete a DVR/NVR Entry From the EDI5000 Configuration
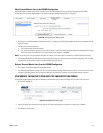
1. Click a device in the NVR Friendly Name section.
2. Click Delete NVR, and then click OK in the confirm deletion message. Remember that the device is not removed from the data interface
configuration settings until you restart the application, as described in Configure the Data Interface Settings on page 22.


