91
5
Connecting the Camera to a Printer
Connect your camera to a printer using the
USB cable provided.
1. Check that the camera’s power
is off.
2. Check that the printer’s power is
off.
Load paper into the printer and check
that the printer is ready to print.
3. Connect one end of the USB
cable provided to the USB port
of your printer.
4. Connect the other end of the
USB cable to the USB terminal
on your camera.
5. Turn the printer power on.
Turn the printer’s power on.
To disconnect the camera from the printer,
check that the power of both units is off
before disconnecting the USB cable
between them.
Printing One Image
1. Check that the printer is ready
for printing.
The "Connecting" screen appears.
2. Press the ADJ. button.
The "Connecting" screen appears. When
the connection between the printer and
the camera is established, the Direct
Print playback mode screen appears.
For some printers, the "Connecting"
screen automatically appears before you
press the ADJ. button.
The LCD monitor displays the last image
you shot.
3. Press the #$
#$#$
#$ buttons to select
an image for printing.
4. Press the ADJ. button.
5. Press the $
$$
$ button to select [1
FILE].
6. Press the O
OO
O button.
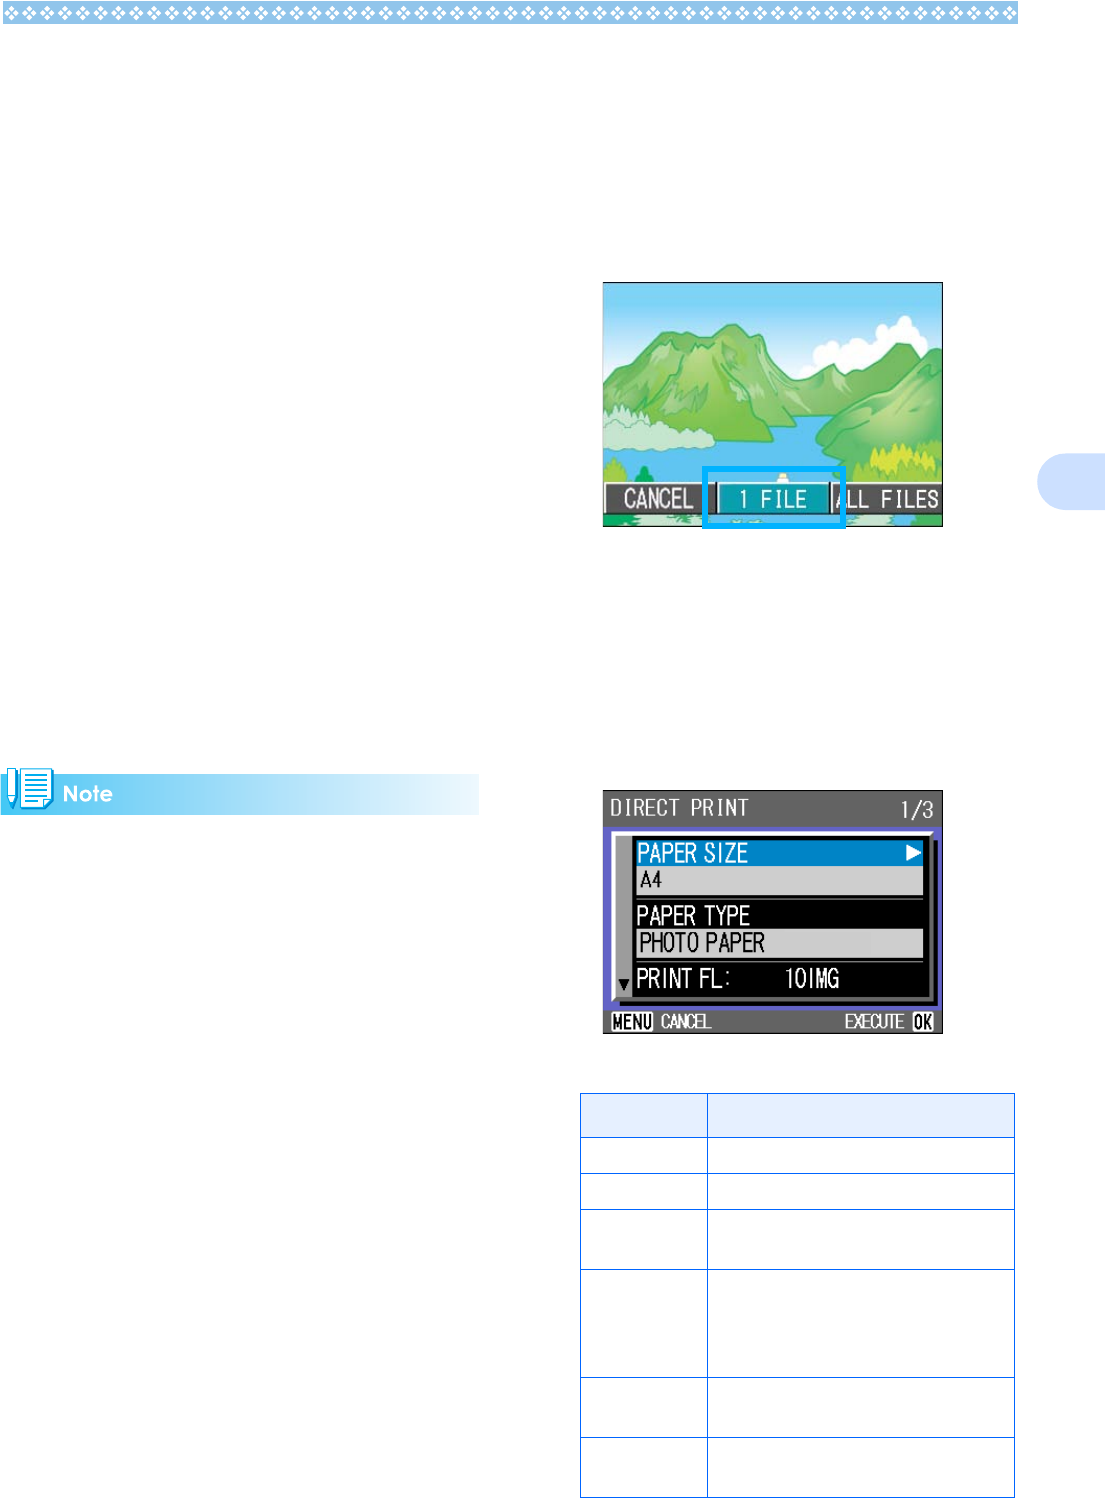
The Direct Print menu appears.
7. Press the !"
!"!"
!" buttons to select
an item, and then press the $
$$
$
button to display the detailed
options screen.
The following items are available:
Item Name Function
PAPER SIZE Sets the paper size.
PAPER TYPE Sets the paper type.
LAYOUT Sets the number of images printed on a
sheet of paper.
DATE PRINT Selects whether to print the date (shoot-
ing date). The date format can be set
using the date/time option in the Setup
Mode.
FILE NAME
PRINT
Selects whether to print the file name.
OPTIMIZE
IMAGE
Selects whether to optimize the image
data prior to printing on the printer.
