6
1. Setting the IP Address
Once your dealer has installed the network scanner option and the
machine is connected to the network, the network administrator or
administrator of the machine should use the following procedure to set
the IP address of the machine.
Note: Although “DHCP” is available as a setting for the IP address
(this means that the machine automatically obtains an address from a
DHCP server), it is recommended that a permanent IP address be
assigned to the machine. If DHCP must be used, it is recommended
that the DHCP lease time for the IP address be set to unlimited. To
check the IP address currently assigned to the machine when DHCP
is used, print out the network setting list as explained on page 9.
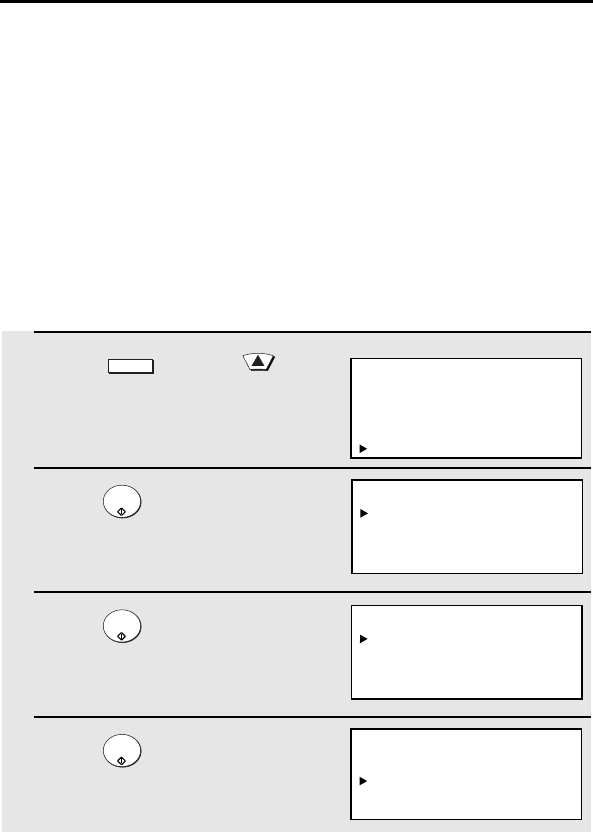
1
Press and then .
• Make sure that NETWORK
SETTING is selected in the display.
2
Press .
• Make sure that NETWORK
CONFIG SET is selected.
3
Press .
• Make sure that IP ADDRESS
SETTING is selected.
4
Press .
MENU
START/
ENTER
START/
ENTER
START/
ENTER
Display:
MENU MODE
5:PROGRAM/GROUP MODE
6:SERIAL POLLING MODE
7:MEMORY POLL MODE
8:NETWORK SETTING
IP ADDRESS SETTING
ENABLE DHCP
1=YES
2=NO
NETWORK CONFIG SET
1:IP ADDRESS SETTING
2:INITIALIZE THE NIC
NETWORK SETTING
1:NETWORK CONFIG SET
2:SCAN TO E-MAIL SET-UP
3:NETWORK SETTING LIST


