


16
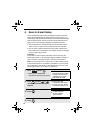
5. Scan to E-mail Setup
To use the Scan to E-mail function, the subject and sender information
(name and e-mail address) that appear when an image is sent to an e-
mail recipient must be entered, and the file format for the scanned image
must be selected. (Note: The file format set in this procedure does not
apply to Scan to E-mail using a Rapid Key or Speed Dial number.)
♦ The preset subject is “Scanned image from FO-DCXXX” (where
“XXX” is “500” or “600”), and the preset file format is “TIFF/G4”.
♦ You can enter a different sender name and select a different file
format at the time of transmission. The subject can only be changed
using the following procedure.
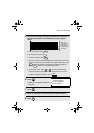
Important:
To use Scan to E-mail, sender information must be set using the
following procedure, or using the Web page as explained on page 11,
even if a sender is manually entered at the time of transmission.
Note: In the event that your e-mail server is unable to deliver a Scan
to E-mail transmission to a specified e-mail address, your server will
send notification to the sender’s e-mail address that you enter in the
following procedure or at the time of transmission.
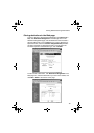
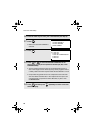
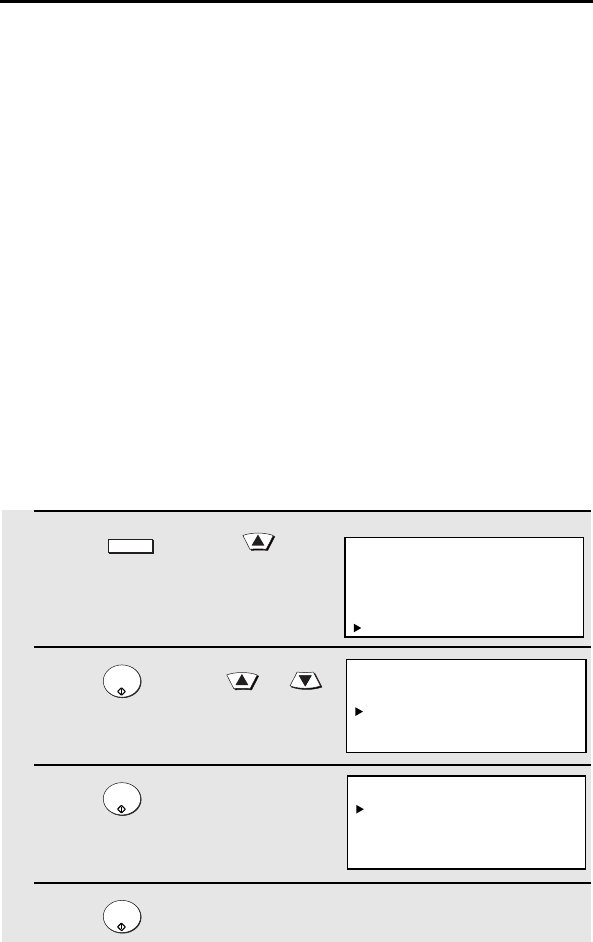
1
Press and then .
• Make sure that NETWORK
SETTING is selected in the display.
2
Press and then or
until SCAN TO E-MAIL SET-UP is
selected.
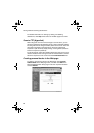
3
Press .
4
Press .
MENU
START/
ENTER
START/
ENTER
START/
ENTER
Display:
MENU MODE
5:PROGRAM/GROUP MODE
6:SERIAL POLLING MODE
7:MEMORY POLL MODE
8:NETWORK SETTING
NETWORK SETTING
1:NETWORK CONFIG SET
2:SCAN TO E-MAIL SET-UP
3:NETWORK SETTING LIST
SCAN TO E-MAIL SET-UP
1:E-MAIL SUBJECT
2:E-MAIL SENDER
3:FILE FORMAT