23
Menus
To change the order of items on a page
1 Move the pointer to the item to be moved then push
on the menu control knob.
The EDIT FUNCTION screen appears.
2 Select MOVE then push on the menu control knob.
The previously displayed page appears again.
3 Move the pointer to the position where you wish to
move the item then push on the menu control knob.
The item selected in step 1 moves to the position that you
selected in step 3.
In the above example, ASSIGNABLE1 is moved to the top,
and the other items are moved down one line.
To delete items from a page
1 Move the pointer to the item to be deleted then push
on the menu control knob.
The EDIT FUNCTION screen appears.
2 Select DELETE and push on the menu control knob.
The previously displayed page appears again, and the
message “DELETE OK? YESbNO” appears.
3 To delete, turn the menu control knob to move the
pointer to YES and push on the menu control knob.
To insert a blank line
1 Move the pointer to the item above which you wish to
insert a blank line.
The EDIT FUNCTION screen appears.
2 Select BLANK then push on the menu control knob.
The previously displayed page appears again, and a blank
line is inserted above the specified item.
You cannot insert a blank line on a page where 10 items have
already been registered.
To add a page to the USER menu
1 Select USER MENU CUSTOMIZE on the TOP MENU
screen.
If this is the first time the USER MENU CUSTOMIZE
menu has been displayed, the CONTENTS page of the
menu appears. If the menu has been used before, the
page last accessed appears.
2 If the CONTENTS page is displayed, turn the menu
control knob to move the pointer to EDIT PAGE then
push on the menu control knob to display the EDIT
PAGE screen.
If a different page is displayed, turn the menu control
knob until the EDIT PAGE screen appears then push
on the menu control knob to select the page.
3 Move the pointer to the position where you wish to
add the page then push on the menu control knob.
The EDIT FUNCTION screen appears.
4 Select INSERT then push on the menu control knob.
The selection screen appears.
5 Move the pointer to the desired page then push on the
menu control knob.
This adds the number and name of the selected page
above the item selected in step 3.
To cancel addition of a page
Before pushing the menu control knob in step 5, turn the
menu control knob to move the pointer to ESC at the top
right of the screen then push on the menu control knob.
The EDIT PAGE screen appears again.
To delete a page from the USER menu
1 On the EDIT PAGE screen of the USER MENU
CUSTOMIZE menu, move the pointer to the page to be
deleted and push on the menu control knob.
The EDIT FUNCTION screen appears.
2 Select DELETE then push on the menu control knob.
The previously displayed page appears again, and the
message “DELETE OK? YESbNO” appears.
3 To delete, turn the menu control knob to move the
pointer to YES then push on the menu control knob.
Note
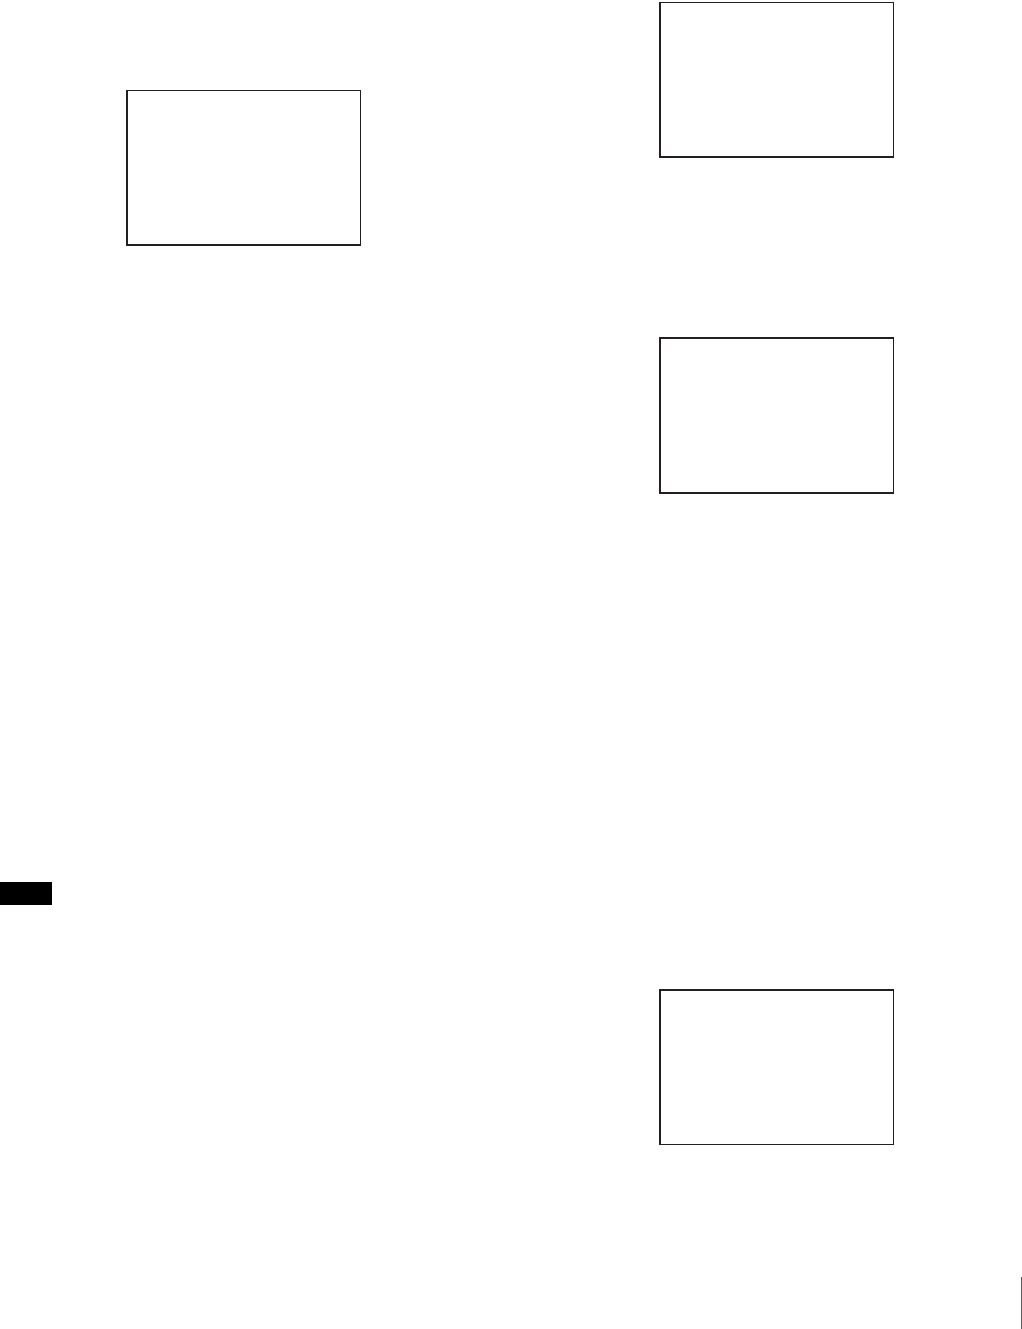
ITEM MOVE
xx
c
VF OUT : COLOR
VF DETAIL : OFF
MARKER : ON
CURSOR : OFF
ZEBRA SW : OFF
: 1
z
ASSIGNABLE1 : OFF
ESC
EDIT PAGE E01
xx
01.<VF OUT>
c
02.<VF DETAIL>
03.<FOCUS ASSIST>
04.<VF DISPLAY>
05.<'!' IND>
06.<VF MARKER>
07.<CURSOR>
08.<ZEBRA>
09.<SWITCH ASSIGN1>
10.<SWITCH ASSIGN2>
TOP
CONTENTS
xx
c
01.USER 1
02.USER 2
03.USER 3
04.USER 4
05.USER 5
06.USER 6
07.USER 7
08.USER 8
09.USER 9
10.USER 10
ESC
ITEM DELETE
DELETE OK? YES
c
NO
01.<VF OUT>
02.<VF DETAIL>
03.<FOCUS ASSIST>
z
04.<VF DISPLAY>
05.<'!' IND>
06.<VF MARKER>
07.<CURSOR>
08.<ZEBRA>
09.<SWITCH ASSIGN1>
10.<SWITCH ASSIGN2>
ESC


