


18 en | Installation MIC Series 550 Camera
F.01U.239.454 | 3.0 | 2012.09 User Manual Bosch Security Systems, Inc.
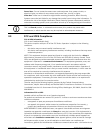
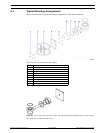
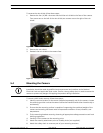
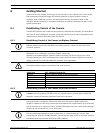
Figure 5.2 Pan body fixing screws
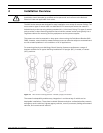
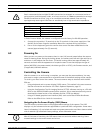
3. Grasp the lower camera body beneath the pan body joint and then carefully twist the
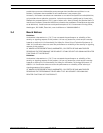
upper camera body clockwise, as shown in Figure 5.3 below, until the camera body has
rotated 180° around. The top part of the camera will now be at a 45° angle (canted).
Figure 5.3 Canting in progress
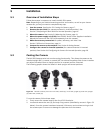
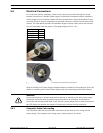
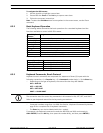
4. Align the two (2) pan body fixing screws, then carefully replace and tighten them. The
camera is now ready to be installed and configured.
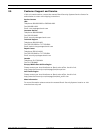
Figure 5.4 Camera in canted position; arrows point to pan body fixing screws (1) and security screws (2)
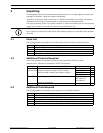
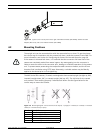
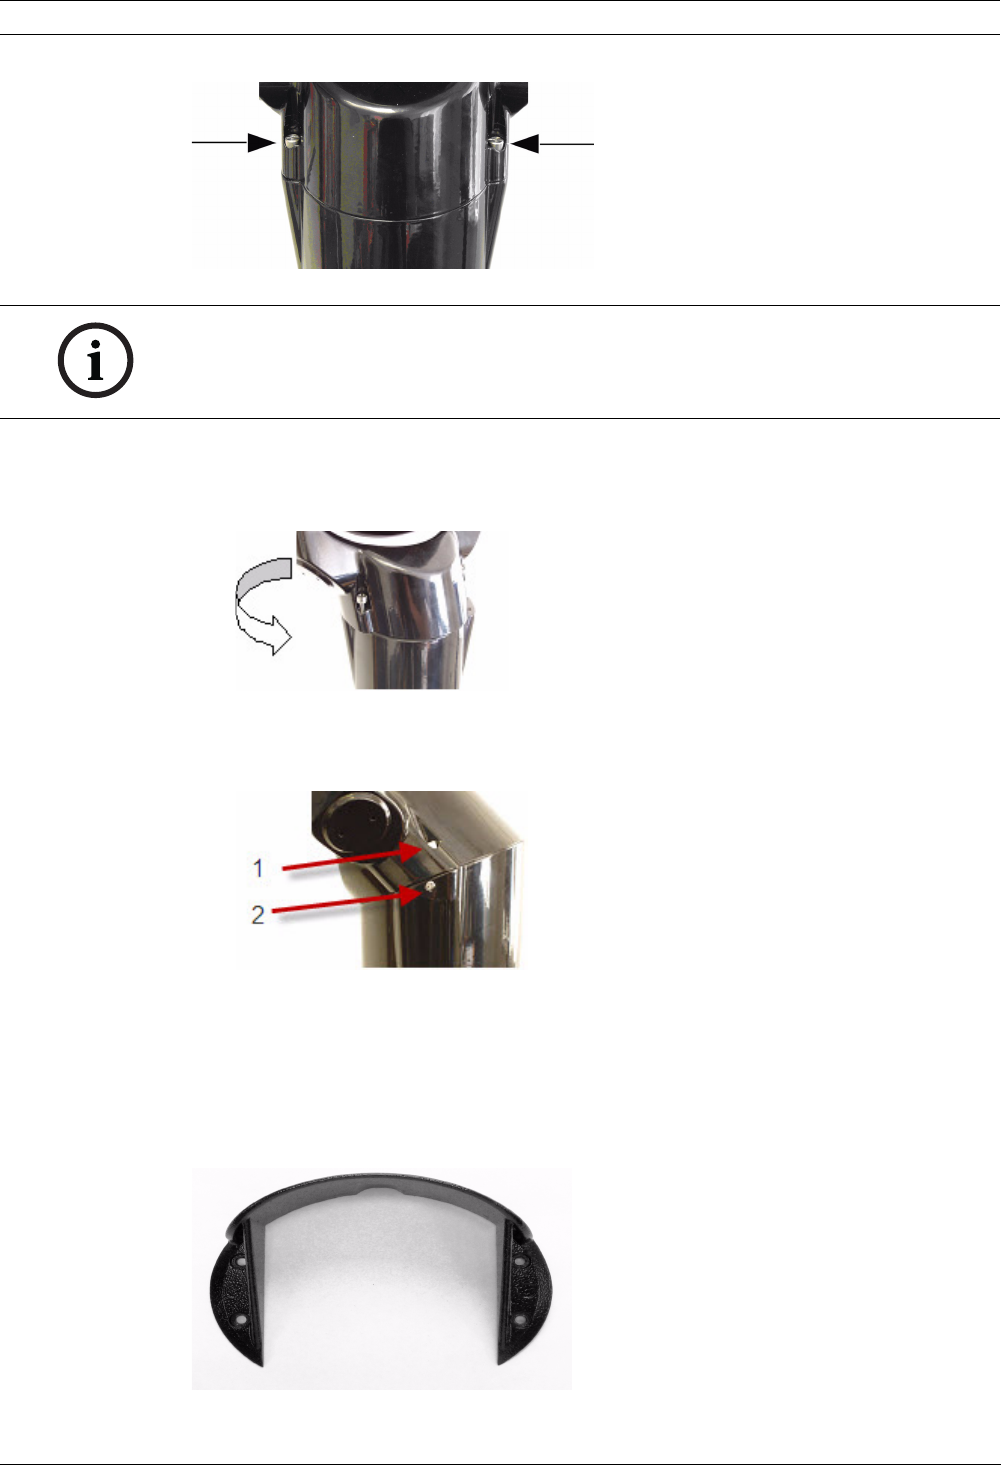
5.3 Adjusting the Rain Shield for Inverted Operation
The upright unit can be mounted with the camera ball up or down. When the camera will be in
inverted position, you should reverse the rain shield to provide weather protection for the
window glass.
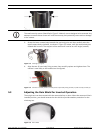
Figure 5.5 Rain shield
NOTICE!
The small security screws (identified in Figure 5.4 below) are not designed to be removed. Any
attempt to remove these screws will void the warranty and potentially cause serious damage
to the camera.