


119
Printing
E
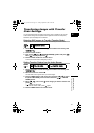
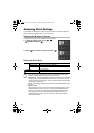
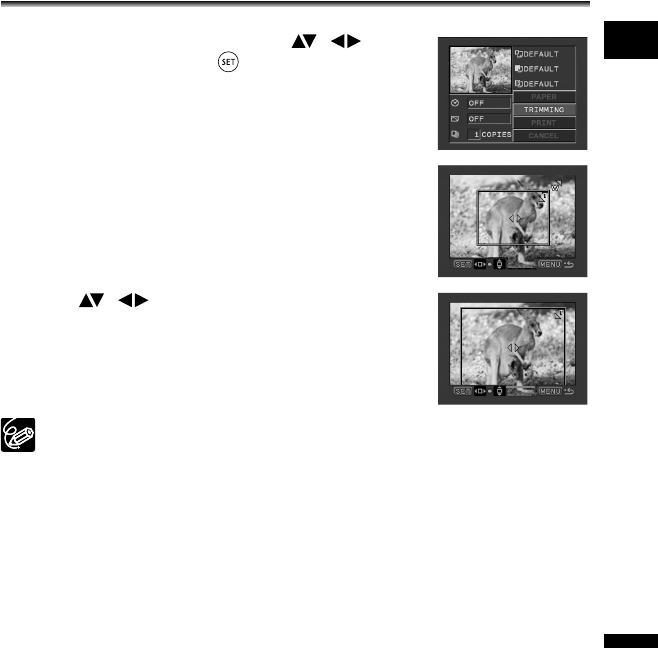
Selecting Trimming Settings
Set the print style before changing the trimming settings.
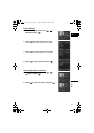
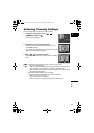
1. In the print setting menu, select ( , )
[TRIMMING] and press ( ).
The trimming frame appears.
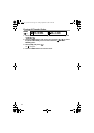
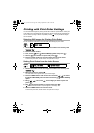
2. Change the size of the trimming frame.
• Move the zoom lever toward T to shrink the frame, and
toward W to enlarge it.
• To cancel the trimming settings, move the zoom lever toward
W until the trimming frame disappears.
3. Move ( , ) the trimming frame.
Pressing the MENU button brings you back to the print settings
menu.
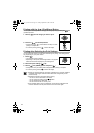
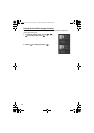
About the color of the trimming frame (Canon CP printers only):
- White: No trimming settings.
- Green: Recommended trimming size. (The trimming frame may not appear in
green depending on the image size, paper size or borders settings.)
- Red: The image is magnified beyond the recommended size. The print quality
will probably be disappointing.
The trimming setting applies only to one image.
The trimming setting is canceled with the following operations:
- When you turn off the camcorder.
- When you disconnect the USB cable.
- When you expand the trimming frame beyond its maximum size.
DC 20_10_PAL-E.book Page 119 Friday, September 2, 2005 6:36 PM