


116
E
Using a Memory Card
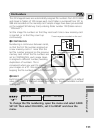
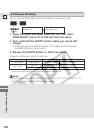
1. Start playback on the other device.
2. When the image you wish to record appears in the display,
press the PHOTO button halfway down and hold it.
• The image appears as a still image in the display.
• The number of images that can still be recorded on the memory card
appears in the display.
3. Press the PHOTO button fully down to record the image to
the memory card.
• The card access indicator flashes.
Notes:
• When dubbing to a tape via the DV terminal, make sure that AV \ DV is
not displayed on the screen. If so, set AV \ DV OUT to OFF ( 97).
• If you record an image onto a memory card that was originally recorded in
the 16:9 mode for wide screen TV’s, the image will appear to be vertically
“squashed” (compressed).
• The shutter sound doesn’t sound in TAPE PLAY(VCR) mode.
• The wireless controller’s PHOTO button has no half-way setting. Press the
button fully and the camcorder immediately takes the “photo”.
Recording
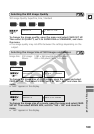
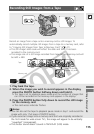
Recording Still Images from Other Devices
(VCR, TV or Other Digital Camcorders)
1. Connect the camcorder to the other device.
2. Prepare the other device.
3. Load a memory card into the camcorder.
4. Turn the camcorder’s POWER switch to PLAY (VCR) and the
TAPE/CARD switch to TAPE.
• There is no need to load a cassette if you only record still images onto a
memory card. If a cassette is inserted, make sure the cassette is in stop
mode.
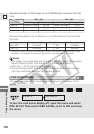
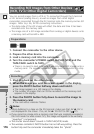
You can record images from a VCR or TV connected through the S-terminal
or AV terminal (analog line-in), as well as images from other digital
camcorders connected through the DV terminal onto the memory card as still
images. Refer to p. 36, 92 for connecting instructions.
• The data code of the still image will reflect the date and time it has been
recorded onto the memory card.
• The image size of a still image recorded from analog or digital devices onto
a memory card will be 640 × 480.
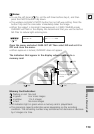
Preparations
+
PLAY
(VCR)
TAPE