


EN51
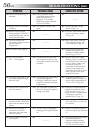
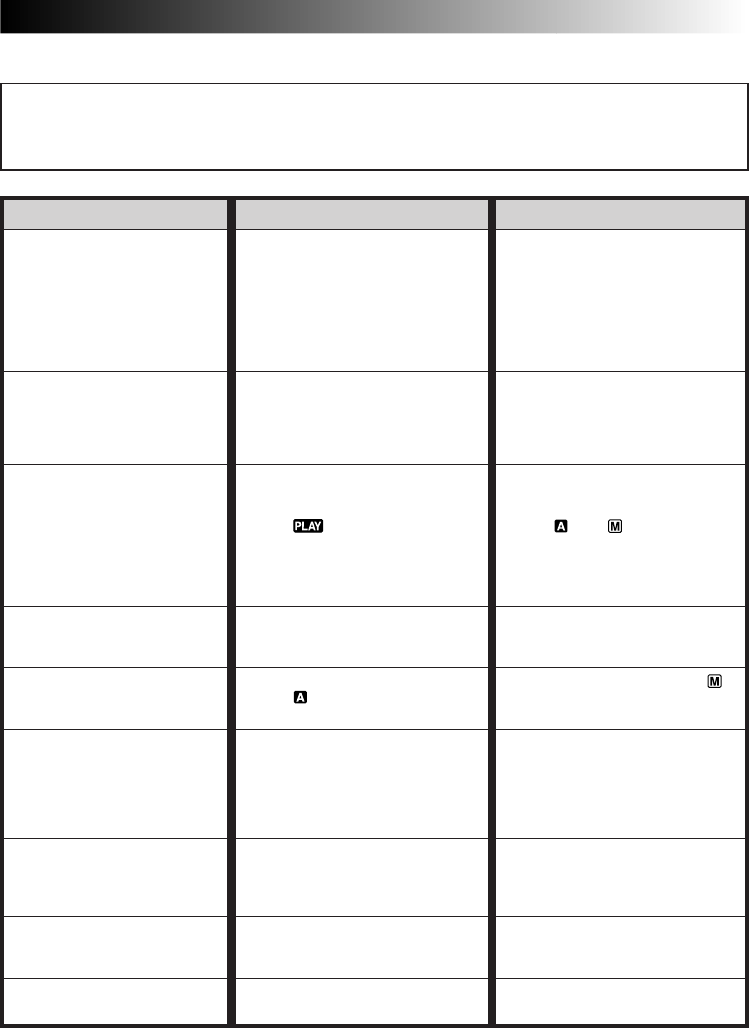
SYMPTOM POSSIBLE CAUSES CORRECTIVE ACTION
TROUBLESHOOTING
1.
No power is supplied.
2.
“SET DATE/TIME!” appears.
3.
Recording cannot be
performed.
4.
There is no picture.
5.
Some functions are not
available using MENU/
BRIGHT.
6.
The focus does not adjust
automatically.
7.
The cassette will not load
properly.
8.
In the 5-Second mode,
recording ends before
5 seconds have elapsed.
9.
Snapshot mode cannot be
used.
1.
•The power is not connected
properly.
•The battery is dead.
•The LCD monitor is not open
fully or the viewfinder is not
pulled out when recording.
2.
•The built-in clock’s recharge-
able lithium battery is
discharged.
•The previously set date/time is
erased.
3.
•The tape’s erase protection tab
is set to “SAVE”.
•The Power Switch is set to
“ ” or “OFF”.
•“TAPE END” appears.
•The cassette holder cover is
open.
4.
•The camcorder is not getting
power, or some other
malfunction exists.
5.
•The Power Switch is set to
“ ”.
6.
•Focus is set to “MANUAL”.
•The recording was done in a
dark place, or the contrast was
low.
•The lens is dirty or covered
with condensation.
7.
•The cassette is in the wrong
position.
•The battery’s charge is low.
8.
•The 5-Second mode is set to
“ANIM.” in the Menu Screen.
9.
•The Squeeze mode is selected.
1.
•Connect the AC Power
Adapter/Charger securely
(੬ pg. 7).
•Replace the dead battery with
a fully charged one
(੬ pg. 6, 7).
•Open the LCD monitor fully
or pull out the viewfinder.
2.
•Connect the camcorder to an
AC outlet using the AC Power
Adapter/Charger for over 24
hours to charge the clock’s
lithium battery (੬ pg. 8).
3.
•Set the tape’s erase protection
tab to “REC” (੬ pg. 9).
•Set the Power Switch to “5S”,
“ ” or “ ” (੬ pg. 12).
•Replace with new cassette
(੬ pg. 9).
•Close the cassette holder
cover.
4.
•Turn the camcorder’s power
off and on again (੬ pg. 12).
5.
•Set the Power Switch to “ ”
(੬ pg. 12).
6.
•Set Focus to “AUTO”
(੬ pg. 28).
•Clean the lens and check the
focus again (੬ pg. 57).
7.
•Set it in the right position
(੬ pg. 9).
•Install a fully charged battery
(੬ pg. 6, 7).
8.
•Select “5S” or “5SD” in the
Menu Screen (੬ pg. 18, 20).
9.
•Disengage the Squeeze mode
(੬ pg. 18, 19).
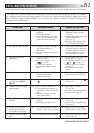
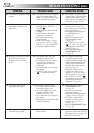
If, after following the steps in the chart below, the problem still exists, please consult your nearest JVC dealer.
The camcorder is a microcomputer-controlled device. External noise and interference (from a TV, a radio,
etc.) might prevent it from functioning properly. In such cases, first disconnect its power supply unit (battery
pack, AC Power Adapter/Battery Charger, etc.) and wait a few minutes; and then re-connect it and proceed
as usual from the beginning.
CONTINUED ON NEXT PAGE