


17
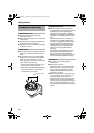
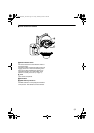
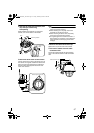
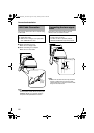
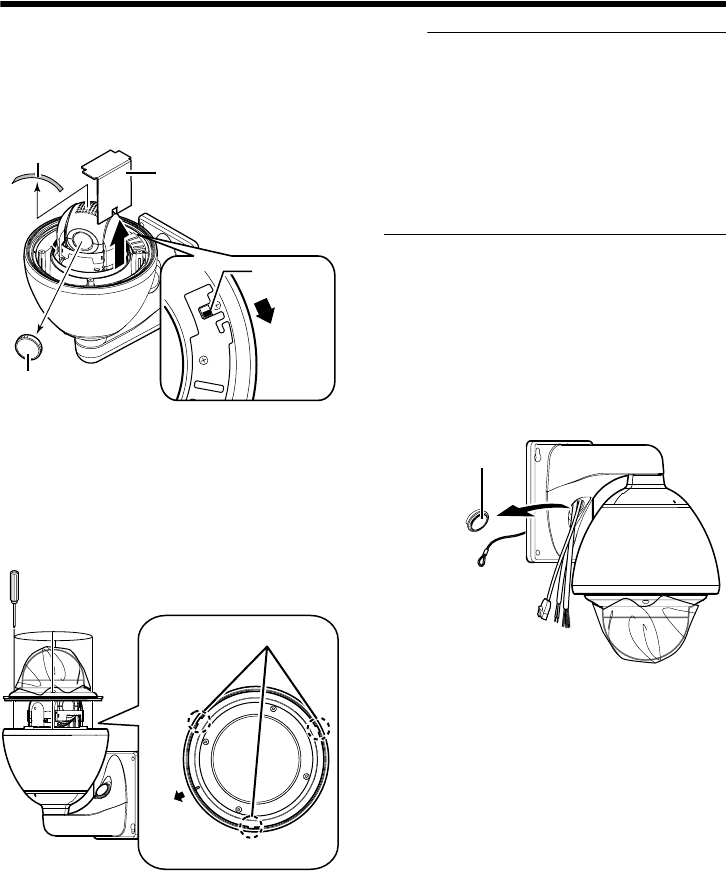
2 Remove the cushioning material, lens
cap and tape used during
transporting
When installing the heater at an unrequired
location, turn off the switch of the heater.
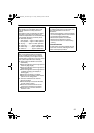
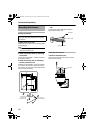
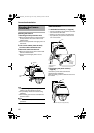
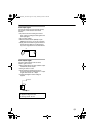
3 Mount the dome cover to the camera
Use the screws (x4) to mount the dome cover to
the camera. As a guide, install three claws of the
dome cover and the central mark. Install such
that the central mark appears above the JVC
mark of the camera.
Note:
●
Check that there is no dirt or dust inside the
dome cover before mounting.
●
When installing on a rainy day, ensure that
raindrops do not enter the interior.
●
When mounting the dome cover, temporarily
secure the 4 screws and then tighten.
●
As a guide, tighten the screws to 0.5 N•m to 1
N•m (5 kgf•cm to 10 kgf•cm). If the tightening is
loose, the dome cover may fog due to water
seepage.
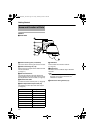
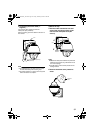
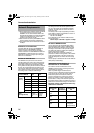
4 Remove the cable connection cap
Remove the cap on the arm of the camera.
5 Pull out the cables from the cable
connection hole
Pull out the cables (except the fall prevention
wire) of the camera from the cable connection
hole.
OFF
Cushioning material
Lens cap
Tape
Heater power
switch
Position aligning claws (x3)
Face front
(towards direction
of the JVC mark)
4
5
Cable connection cap
VN-V686WPU_EN.book Page 17 Friday, February 8, 2008 5:20 PM