EN
81
Printing
6
Connecting the camera to a printer
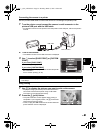
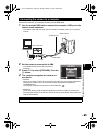
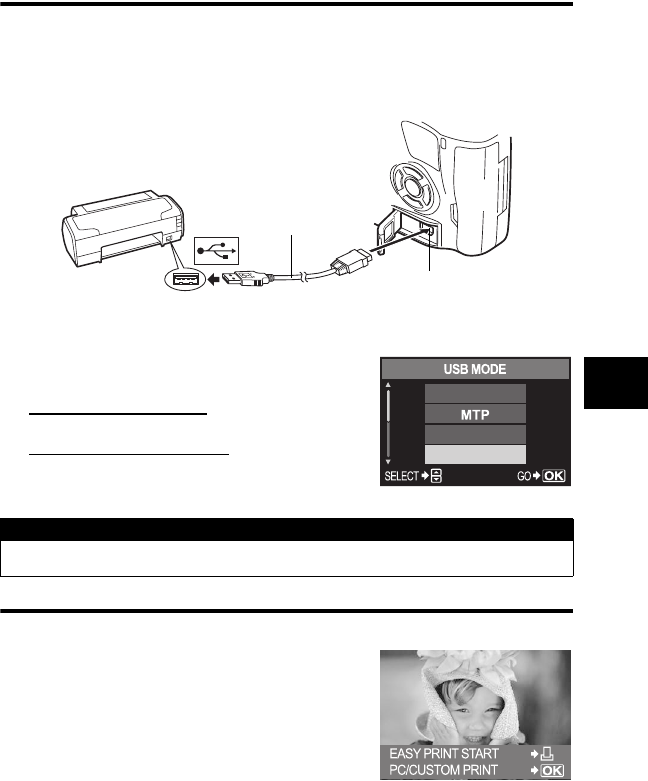
Use the provided USB cable to connect the camera to a PictBridge-compatible printer.
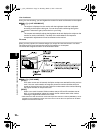
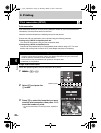
1 Turn the printer on and connect the camera’s multi-connector to the
printer’s USB port with the USB cable
• For details on how to turn the printer on and the position of the USB port, refer to the printer’s
manual.
2 Turn on the camera.
• The selection screen for the USB connection is displayed.
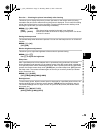
3 Use p to select [EASY PRINT] or [CUSTOM
PRINT].
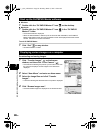
If you select [EASY PRINT]
• Go to “Easy printing” (P. 81).
If you select [CUSTOM PRINT]
• [ONE MOMENT] is displayed and the camera and printer
are connected.
Go to “Custom printing” (P. 82).
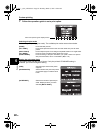
Easy printing
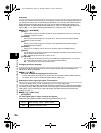
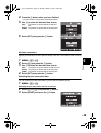
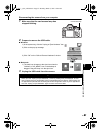
1 Use bd to display the pictures you want to print on the camera.
• Display the image you want to print on the camera and
connect the camera with a printer using a USB cable.
The screen on the right appears shortly.
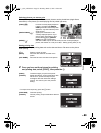
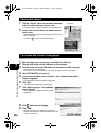
2 Press the < (print) button.
• The picture selection screen appears when printing is
completed. To print another picture, use bd to select the
image and press the < button.
• To exit, unplug the USB cable from the camera while the
picture selection screen is displayed.
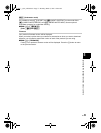
x Notes
• If the screen is not displayed after a few minutes, disconnect the USB Cable and start again
from Step 1.
Multi-connector
USB cable
STORAGE
CONTROL
EASY PRINT
s0013_e_00_unified.book Page 81 Monday, March 5, 2007 10:04 AM


