


86
With other products
With a printer (PictBridge)
To print pictures by directly connecting this unit
to the printer, use a printer compatible with
PictBridge. (Read the operating instructions for
the printer.)
≥Use the AC adaptor to free you from worrying
about the battery running down.
¬
Insert an SD card with recorded
images in this unit and then set the
mode dial to to turn on the power.
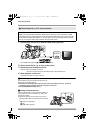
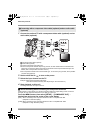
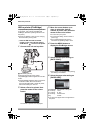
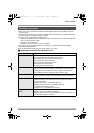
1 Connect this unit and a printer.
A USB cable (optional)
≥Insert the plugs as far as they will go.
The [PictBridge] indication appears on this unit’s
screen.
≥If the [PictBridge] indication does not appear or
continues to flash, disconnect and then
reconnect the USB cable or check the printer,
SD card and settings on this unit.
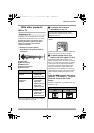
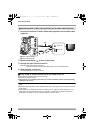
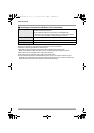
2 Select a file to be printed, then
press the center of the cursor
button.
The number of pictures set is displayed.
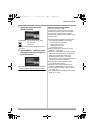
3 Move the cursor button up or
down to select the desired
number of prints, then press the
center of the cursor button.
≥You can set up to 9 prints.
≥To cancel the setting, set the number of
prints to [0].
≥Up to 8 files displayed can be set in
succession by repeating steps 2 and 3.
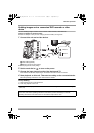
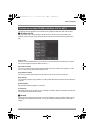
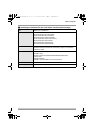
4 Press the MENU button to
display the PictBridge menus.
5 Select the date print setting on
[DATE PRINT].
≥If the printer is not capable of date printing,
this setting is unavailable.
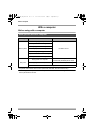
6 Select the paper size setting on
[PAPER SIZE].
[STANDARD]: Size specific to the printer
[4k5 INCH]: L size
[5k7 INCH]: 2L size
[4k6 INCH]: Postcard size
[A4]: A4 size
≥You cannot set paper sizes not supported on
the printer.
USB
2.0
VQT1Q93_ENG_PP.book 86 ページ 2008年3月6日 木曜日 午後5時42分