178
5
Editing and Printing Images
4
Press the 4 button.
The cropping screen appears.
The largest size of the cropped image is shown with a green frame on
the screen.
The cropped image cannot be larger than this cropping frame size.
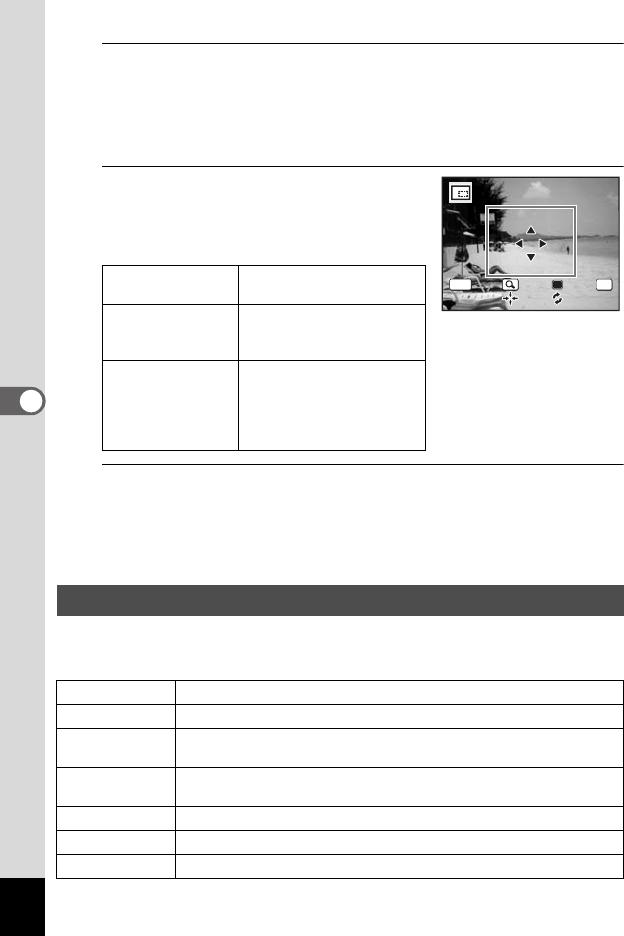
5
Choose the cropping area.
The following operations move the green
frame and set the area for cropping on the
screen.
6
Press the 4 button.
The cropped image is saved with a new file name.
The number of recorded pixels is selected automatically according to
the size of the cropped section.
This mode lets you change the color tones and perform special
processing on a selected image.
e-dial Changes the size of the
cropped section
Four-way controller
(2345)
Moves the cropping
position up, down, left and
right
Green button Rotates the cropping frame
• The button is only
displayed when the
cropping frame size can
be rotated.
Using the Digital Filters
B&W filter
Changes color images to black and white.
Sepia filter
Processes the image using the sepia filter.
Color filter
Processes the image using the selected color filter. You can choose
from six filters: red, pink, purple, blue, green, and yellow.
Color extraction
filter
Processes the image using the selected color extraction filter. You
can choose from three filters: red, green, and blue.
Soft filter
Processes the image into a soft image.
Fish-eye filter
Applies a fish-eye lens effect to images.
Brightness filter
Adjusts the brightness of the image.
OKMENU
Cancel OK
OK
e_kb484.book Page 178 Wednesday, March 18, 2009 5:23 PM
