Hollywood DV-Bridge User’s Guide • Using Hollywood DV-Bridge Without a Computer • Page 47
IMPORTANT: Make sure that the camcorder or VCR and monitor are set up properly to
receive a video signal. It may be necessary to set a camcorder to VTR mode, while a VCR
or monitor might need to be set to “Line In,” “L1,” “L2,” “Aux” or a similar channel. Or, if
a monitor is connected to a VCR with a coaxial cable, you might need to set the monitor
to channel 3 or 4. Check each device’s documentation for specific details.
Converting Analog to DV
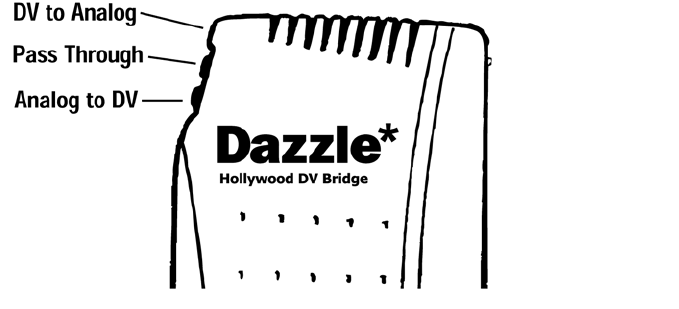
1. Use the Mode Selector button on the back of the Hollywood DV-Bridge to change the
mode to Analog to DV.
The LED indicators on the front of the unit show the active mode (see the illustration
below).
If you are using an analog camcorder as your input (source) device, put it into Video
Tape Recorder mode. Cue the tape to the spot where you want to start playing.
If you are using a DV camcorder as your output (target) device, put it into Video Tape
Recorder mode. Cue the tape to the spot where you want to start recording. Make sure
you do not record over existing footage on the tape that you want to keep.
2. Press the Play button on the analog camcorder or VCR, and press the Record button
on the DV camcorder or VCR.
