


153
Direct Printing
4
Note----------------------------------------------------------------------------------------------
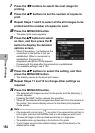
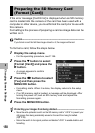
• To specify the settings as the default settings
next time the camera is connected to the
printer, press the ADJ. lever when the screen
in Step 7 is displayed. When the screen at the
right appears, press the #$ buttons to select
[Set] and press the MENU/OK button.
• To use the settings last set the next time the
camera is connected to the printer, select
[Cancel].
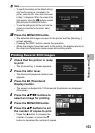
10
Press the MENU/OK button.
• The selected still images are sent to the printer and the [Sending...]
screen appears.
• Pressing the DISP. button cancels the operation.
• When the images have been sent to the printer, the display returns to
the direct print playback mode screen and printing starts.
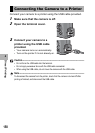
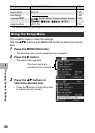
1
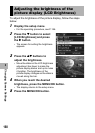
Check that the printer is ready
to print.
• The [Connecting...] screen appears.
2
Press the ADJ. lever.
• The direct print playback mode screen
appears.
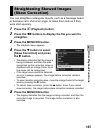
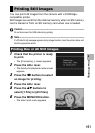
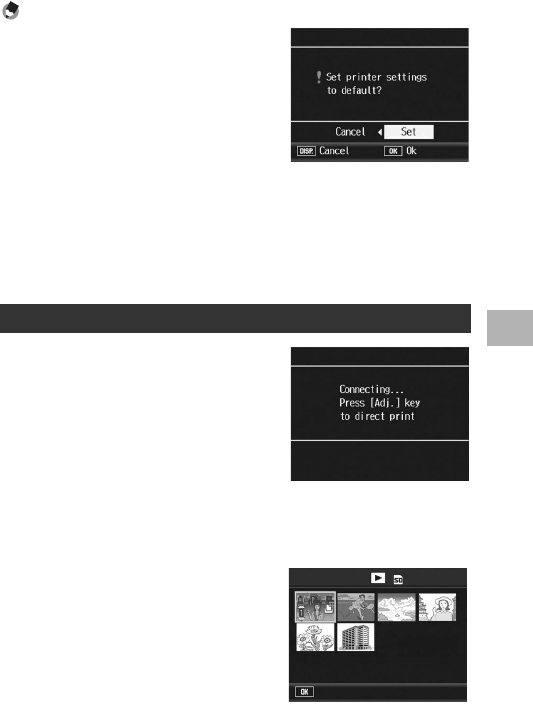
3
Press the 9 (Thumbnail
Display) button.
• The screen is divided into 12 frames and thumbnails are displayed
(Grid view).
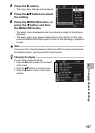
4
Press the !"#$ buttons to
select an image for printing.
5
Press the MENU/OK button.
6
Press the !" buttons to set
the number of copies to print.
• Press the ! button to increase the
number of copies, or press the "
button to decrease the number of copies.
Printing Several Still Images
Prnt Fil
Forward
1
/
6