


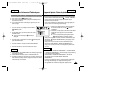
Impression de vos images avec PictBridge <PictBridge>
✤ En connectant l’appareil photo à une imprimante avec Pictbridge (vendu séparément), vous
pouvez envoyer des images à partir de la carte mémoire directement vers l’imprimante en
faisant quelques opérations simples nécessitant l’utilisation des boutons de l’appareil photo.
✤ Grâce à Pictbridge, vous pouvez commander l’imprimante directement à partir de votre
appareil photo afin d’imprimer les images enregistrées.
✤ Pour imprimer directement vos images enregistrées en vous servant de la fonction
Pictbridge, connectez votre appareil à une imprimante Pictbridge par l’intermédiaire d’un
câble USB.Pour imprimer des images enregistrées sur la carte mémoire à l’aide de
PictBridge, suivez la procédure indiquée ci-dessous :
■
Branchez votre appareil photo à l’imprimante compatible PictBridge puis sélectionnez
les images à imprimer.
■
Choisissez, le cas échéant, vos options d’impression en suivant les instructions de la
page 139 puis imprimez les images que vous avez sélectionnées (reportez-vous à la
page 141).
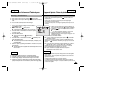
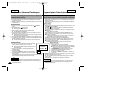
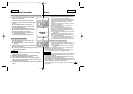
Connexion à une imprimante
1. Mettez votre imprimante hors tension. Allumez votre appareil photo en
plaçant le sélecteur de mise sous tension sur le mode (PHOTO
<CAMERA>).
2. Sélectionnez le mode (PLAY) à l'aide de la molette Mode <Mode
Dial> puis appuyez sur le bouton MENU <MENU>.
■
Le menu principal dans lequel apparaît l’option
(CONFIGURATION <SETUP>) s’affiche.
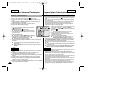
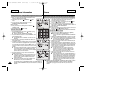
3. Appuyez sur la gauche ou la droite du bouton multidirectionnel pour
sélectionner (CONFIGURATION <SETUP>) puis appuyez sur le bas
du bouton.
■
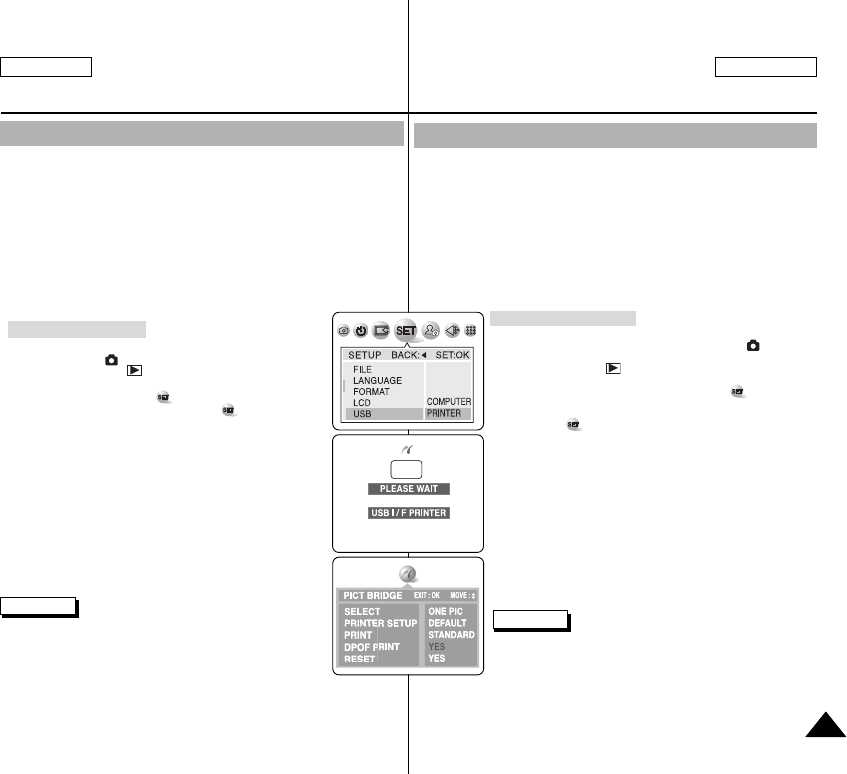
Le menu secondaire où apparaît «USB» <USB> s’affiche.
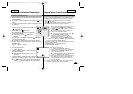
4. Sélectionnez USB <USB> en appuyant sur le bas ou le haut du bouton
multidirectionnel puis appuyez sur la droite.
■
La liste des options disponibles s’affiche: «ORDINATEUR»
<COMPUTER> et «IMPRIMANTE» <PRINTER>.
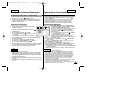
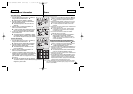
5. Sélectionnez «IMPRIMANTE» <PRINTER> puis appuyez sur OK <OK>.
6. Appuyez sur le bouton MENU<MENU> pour quitter l’écran de réglage.
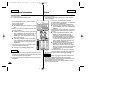
7. Connectez votre appareil photo à l’imprimante en vous servant du câble
USB fourni.
8. Mettez votre imprimante sous tension.
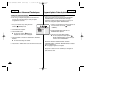
■
L’écran de connexion Pictbridge s’affiche. Les messages «VEUILLEZ
PATIENTER» <PLEASE WAIT> et «IMPRIMANTE I/F USB» <USB I/F
PRINTER> (ou «ORDINATEUR I/F USB» <USB I/F COMPUTER>)
s’affichent brièvement puis l’écran du menu Pictbridge s’affiche.
Vous pouvez régler les options suivantes sous le menu Pictbridge:
Remarques
✤ Si l’option USB <USB> est paramétrée sur COMPUTER
<ORDINATEUR>, USB I/F COMPUTER <ORDINATEUR I/F USB>
s’affiche sur l’écran LCD ou sur le viseur avec le message PLEASE
WAIT <VEUILLEZ PATIENTER>.
✤ Si l’option USB <USB> est paramétrée sur PRINTER <IMPRIMANTE>, USB I/F PRINTER
<IMPRIMANTE I/F USB> s’affiche sur l’écran LCD ou sur le viseur avec le message
PLEASE WAIT <VEUILLEZ PATIENTER>.
✤ PictBridge, marque déposée de la CIPA (Camera & Imaging Products Association), est un
protocole de transfert d’image développé par Canon, Fuji, HP, Olympus, Seiko Epson et
Sony.
Divers
ENGLISH FRANÇAIS
137137
Miscellaneous Information
Printing Your Pictures – Using the PictBridgeTM
✤ By connecting the camera to printers with PictBridge support (sold separately),
you can send images from the memory card directly to the printer with a few
simple operations using the camera buttons.
✤ With the PictBridge Support, you can control the printer directly through your
camera in order to print out stored pictures. For direct printing of your stored
pictures using the PictBridge function, you must connect your camera to a
PictBridge printer using a USB cable.
✤ To print out images stored in the memory card using PictBridge support, follow the
steps:
■ Connect your camera to a PictBridge supporting printer and then select
images to print.
■ Customize print options as described in page 139 if desired and then print
your selected images (refer to page 141).
1. Turn your printer power off. Turn your camera on by setting the
Power Switch to (CAMERA) mode.
2. Set the Mode DIALto (PLAY) mode, then press the MENU
button.
■ The top menu including (SETUP) is displayed.
3. Press the LEFT or RIGHT button to select (SETUP) then
press the DOWN button.
■ The submenu including “USB” is displayed.
4. Press the DOWN or UP button to select USB, then press the
RIGHT button.
■ The available options are listed: “COMPUTER” and
“PRINTER”.
5. Select “PRINTER”, then press the OK button.
6. Press the MENU button to exit the settings screen.
7. Connect your camera to the printer using the provided USB cable.
8. Turn your printer power on.
■ The PictBridge connection screen appears. The messages
“PLEASE WAIT” and “USB I/F PRINTER” (or “USB I/F
COMPUTER”) appear shortly, then the PictBridge menu
screen appears.
✤ If the USB option is set to “COMPUTER”, “USB I/F COMPUTER”
will be displayed on the LCD or Viewfinder with a “PLEASE WAIT”
message.
✤ If the USB option is set to “PRINTER”, “USB I/F PRINTER” will be
displayed with a “PLEASE WAIT” message on the LCD or
Viewfinder.
✤ The PictBridge
TM
is a registered trademark of CIPA(Camera & Imaging Products
Association), an image transfer standard developed by Canon, Fuji, HP, Olympus,
Seiko Epson, and Sony.
Connecting To a Printer
Notes
00779C SCD6050 UK+FR (124-165) 7/1/04 12:49 PM Page 137