3 Operation/Control Unit Model 5000B
3-32 Part I
Teledyne Analytical Instruments
Repeat the above procedure for each of the data points you are setting (up
to nine points: 0-8). Set the points in unit increments. Do not skip numbers. The
linearizer will automatically adjust for the number of points entered.
When you are done, Press ESCAPE. The message, Completed. Wait for
calculation, appears briefly, and then the main System screen returns.
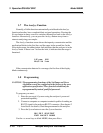
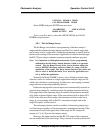
To end the session, send:
st<enter>
st<enter>
to the analyzer from the computer.
3.8.2.2 Auto Mode Linearization
To linearize in the Auto Mode, you must have on hand a separate
calibration fluid for each of the data points you are going use in your linear-
ization. First, the analyzer is zeroed and spanned as usual. Then, each special
calibration fluid, for each of the intermediate calibration points, is flowed, in
turn, through the sensor. As each fluid flows, the differential value for that
intermediate calibration point is entered from the front panel of the analyzer.
Note: The span fluid used to span the analyzer must be >90% of the
range being analyzed.
Before starting linearization, perform a standard calibration. See section
4.4. To enter data:
From the System Functions screen—
1. Use < > to select ALGORITHM , and Enter.
2. Select and Enter SETUP.
3. Enter AUTO from the Calibration Mode Select screen.
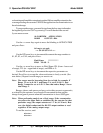
The Auto Linearize Mode data entry screen appears.
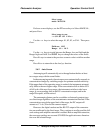
19.5 ppm SO2
Input(Ø) :20.00
5. Use the DÑ keys to set the proper value of calibration fluid, and
Enter. Repeat this step for each cal-point number as it appears in
the Input (x) parentheses.
6. Repeat step 5 for each of the special calibration fluides, from the
lowest to the highest concentrations. Press Escape when done.
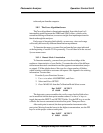
To end the session, send:
st<enter>
st<enter>
to the analyzer from the computer.


