


12 Printing from a Memory Card
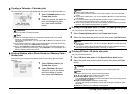
Removing the Memory Card
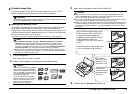
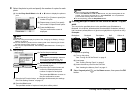
1 Make sure that the Access lamp is lit, then remove the memory
card.
Do not remove the memory card while the Access lamp is flashing. Hold the
part of the memory card that is sticking out to remove it from the printer.
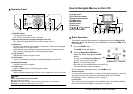
Printing Photographs Saved on a Memory Card
Photos saved on the memory card can be reviewed on the printer’s LCD. You can
select a photo and print a single copy of the photo, or specify the number of copies
to print.
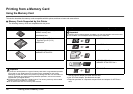
Selecting Photographs to Print—Select and print
You can display the photos saved on the memory card on the LCD and print
them.
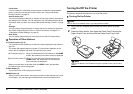
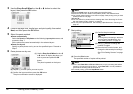
1 Prepare for printing.
(1) Turn on the printer.
See “Turning On/Off the Printer” on page 6.
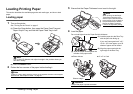
(2) Load paper.
See “Loading Printing Paper” on page 8.
(3) Insert the memory card into the Card Slot.
See “Inserting the Memory Card” on page 11.
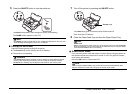
2 Select Select and print on the Home screen, then press the
OK button.
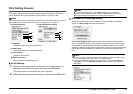
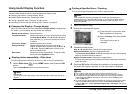
3 Confirm the page size, media type, and other settings, then select
Next, and then press the OK button.
The photo selection screen is displayed.
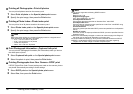
Important
If you used the Card Slot as the memory card drive of the computer, you need to
do a “safe removal” operation on your computer before physically removing the
memory card from your printer.
Right-click the removable disk icon and click Eject. If Eject is not displayed on the
screen, make sure that the Access lamp is not flashing, and then remove the
memory card.
Drag the icon into the Trash.
Important
The Access lamp flashes while the printer is reading or writing data from/to the
memory card. Removing the memory card or turning off the printer while the
Access lamp is flashing may damage the data saved on the memory card.
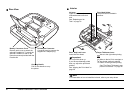
Access lamp
Note
z To change the settings, select the item and press the OK button.
See “Print Setting Screens” on page 15.
z may be displayed on the LCD while reading the photo.