13Printing from a Memory Card
4 Select the photo to print and specify the number of copies for each
photo.
(1) Use the Easy-Scroll Wheel or the [ or ] button to display the photo to
print.
5 Start printing.
(4) Press the left Function button, and change the Advanced print settings.
See “Print Setting Screens” on page 15.
(5) Press the Print button.
The specified number of copies of each photo will be printed.
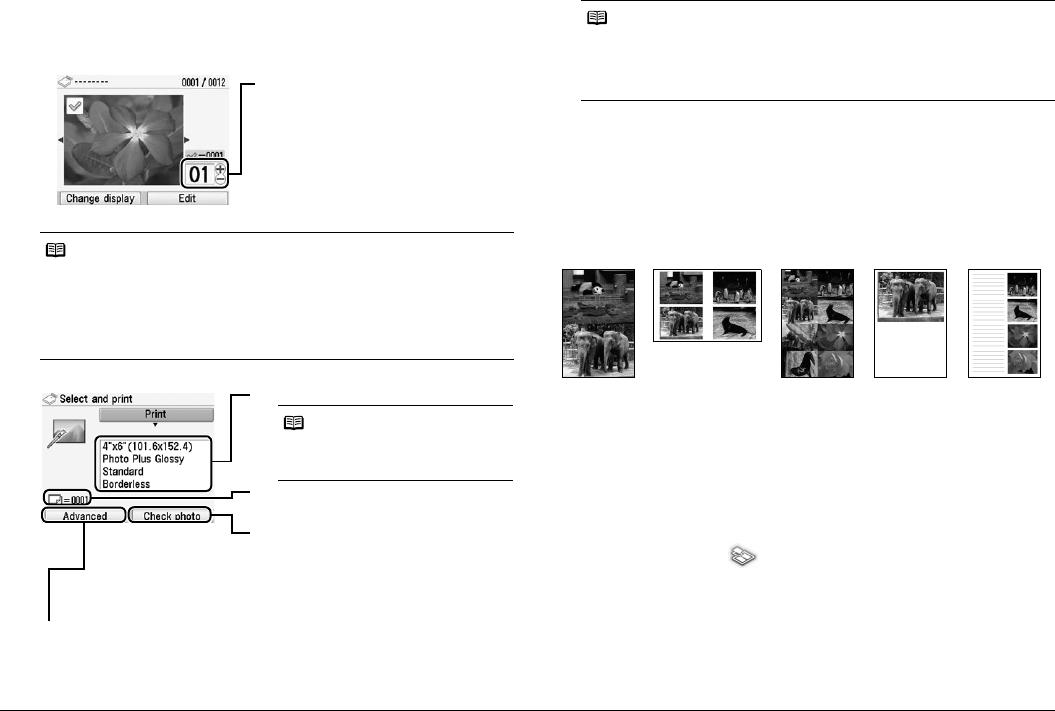
Printing Multiple Photos on One Sheet of Media—Layout
print
You can print the specified photos in the specified layout (Borderless or
Bordered ×2/×4/×8/Half, borderless/Half, bordered/Half, borderless (w/lines)/
Half, bordered (w/lines)/Album ×4 (photos on right)/Album ×4 (photos on left)).
Examples:
.
1 Prepare for printing.
(1) Turn on the printer.
See “Turning On/Off the Printer” on page 6.
(2) Load paper.
See “Loading Printing Paper” on page 8.
(3) Insert the memory card into the Card Slot.
See “Inserting the Memory Card” on page 11.
2 Select Layout print on the Home screen, then press the OK
button.
Note
You can do…
z You can change the display for photos. See “Changing the Display—Change
display” on page 19.
z You can search for photos with the shooting date. See “Searching for Photos
with the Shooting Date—Search” on page 20.
z You can print a specified area. See “Printing a Specified Area—Trimming” on
page 19.
(2) Use the [+] or [-] button to specify the
number of copies.
(3) Repeat steps (1) and (2) to specify
the number of copies for each photo.
(4) Press the OK button.
The print confirmation screen is
displayed.
(1) Confirm the print settings.
(2) Confirm the total number of copies for
the selected photos.
(3) Press the right Function button and
confirm the selected photos and
number of copies for each photo.
Then press the OK button to return to
the print confirmation screen.
Note
To change the print settings, select the
item and press the OK button. See
“Print Setting Screens” on page 15.
Note
z When the page size is Credit card:
Even if both Date ON and File no. ON are set, only the shooting date will be
printed. If you want to print the file no., select Date OFF. It is not possible to
print both the shooting date and the file no.
z To cancel printing, press the Stop/Reset button.
Borderless
×2
Borderless
×8
Bordered
×4
Half
bordered
Album ×4


