


21
Cover
Contents
Part Names
Basic Operations
Printing via USB
Cable
Troubleshooting
Appendix
Printing via Wi-Fi
Print Settings
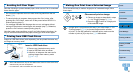
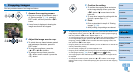
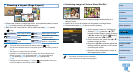
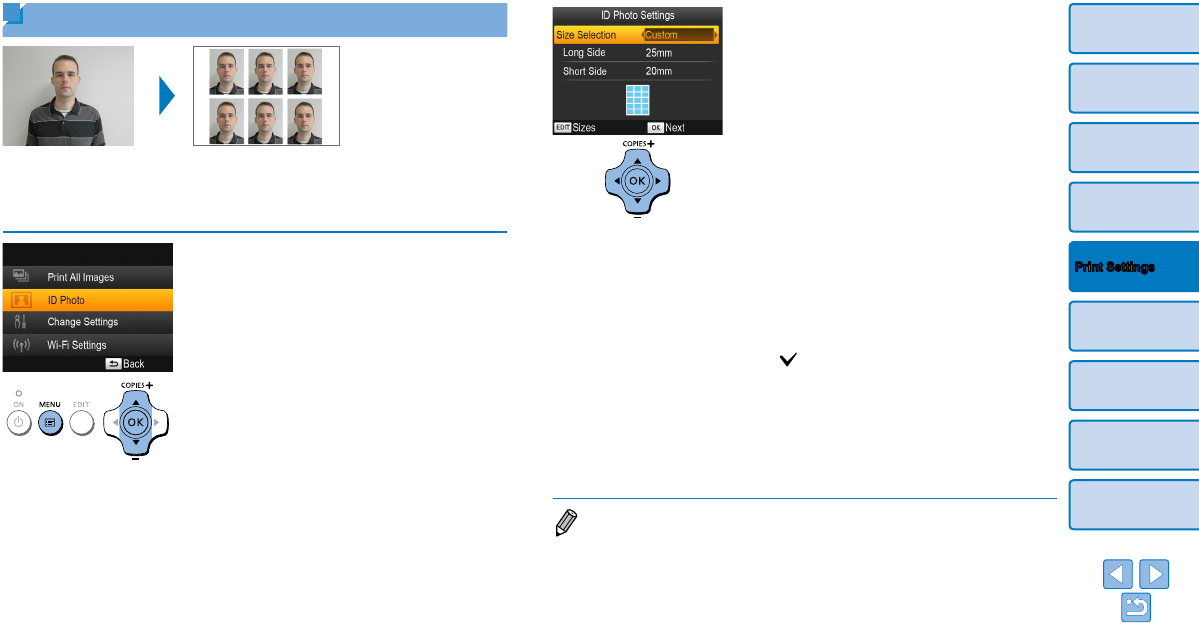
2 Specify the finished size of the
photo.
Press the <l><r> buttons to specify
how the size is determined.
[Custom]: Press the <u><d> buttons
to select [Long Side], and then press the
<l><r> buttons to specify the length.
Specify the [Short Side] length, and then
press the <o> button again. Note
that options available for [Short Side]
are automatically updated based on the
[Long Side] length.
[Standard]: Check the indicated image
size and press the <o> button.
3 Choose an image to print.
Press the <l><r> buttons to select an
image, and then press the <u> button.
is shown in the lower right. You can
choose one or two images.
To specify the cropping area (=
20),
press the EDIT button.
Print as described in step 6 of “Printing
Images” (=
15).
Settings are cleared after printing.
• The photo may not be accepted as an official ID photo, depending on the
intended purpose. For details, contact the institution that requires the photo.
• Card-size paper cannot be used.
• [Borders] settings are not applied, and dates are not printed.
• Selecting two images in step 3 will produce an equal number of prints of each
image per sheet, in your specified layout. Note that for layouts with an odd
number of prints per sheet, the center frame on the sheet will be blank.
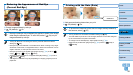
Printing ID Photos
Images can be printed for use in photo identification. Choose from [Custom]
or [Standard]* sizes.
Two different images can be printed on each sheet.
* The dimensions of [Standard] conform to ICAO international standards.
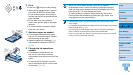
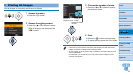
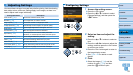
1 Specify ID photo printing.
Press the <k> button.
Press the <u><d> buttons to select [ID
Photo], and then press the <o> button.