45
Cover
Contents
Part Names
Basic Operations
Print Settings
Printing via USB
Cable
Troubleshooting
Appendix
Printing via Wi-Fi
2 Choose auto or manual IP address configuration.
For automatic IP address configuration, choose [Auto] and press the
<o> button. Setup is now finished.
To enter the IP address manually, choose [Manual] and press the
<o> button. Go to step 3.
3 Enter the IP address.
Press the <l><r> buttons to move the cursor, press the <u><d>
buttons to specify the value, and then press the <o> button.
4 Enter the subnet mask.
Press the <l><r> buttons to move the cursor, press the <u><d>
buttons to specify the value, and then press the <o> button.
5 Check the settings.
Review the indicated setting details and press the <o> button.
Returning the Wi-Fi Settings to Default
Reset Wi-Fi settings such as the printer name, access point information,
and password as follows.
Press the <k> button and then the <u><d> buttons to select [Wi-Fi
Settings], and then press the <o> button.
Press the <u><d> buttons to select [Reset Settings], and then press
the <o> button.
Confirm your intent by pressing the <o> button.
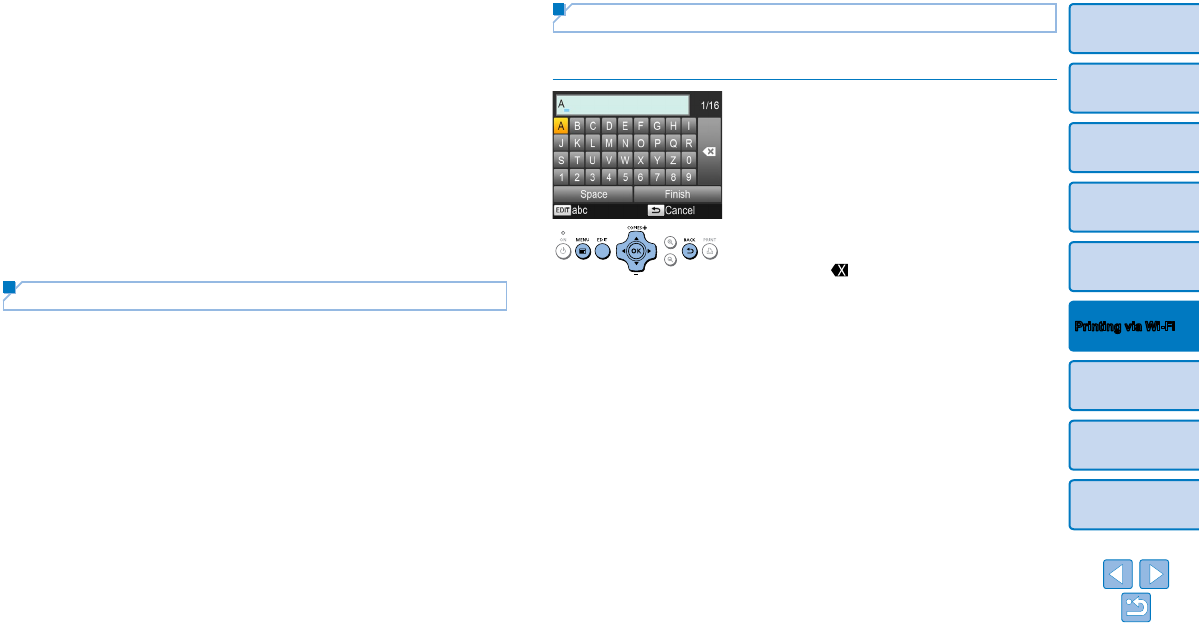
Entering Information
When entering a printer name, password, or other information, press the
EDIT button to access the input screen.
Entering information
Press the <u><d><l><r> buttons to
select a letter, number, or symbol, and
then press the <o> button. To enter
a space, select [Space] and press the
<o> button.
Deleting information
Press the <u><d><l><r> buttons to
select [
], and then press the <o>
button.
Switching input modes
To switch from uppercase to lowercase
letters and then symbols, press the EDIT
button repeatedly.
Returning to the previous screen
To confirm input and return to
the previous screen, press the
<u><d><l><r> buttons to select
[Finish], and then press the <o>
button.
To cancel input and return to the previous
screen, press the <v> button.


