


41
Cover
Contents
Part Names
Basic Operations
Print Settings
Printing via USB
Cable
Troubleshooting
Appendix
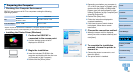
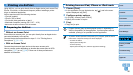
Printing via Wi-Fi
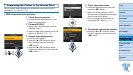
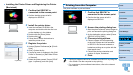
The screen at left is displayed.
• Selecting an unprotected access point in step 7 and pressing the <o>
button will display the screen in step 9.
• Up to 20 access points are listed. If your desired access point is not listed,
press the <v> button and select [Manual Settings] in step 6 on =
40 to
specify the access point manually. Follow on-screen instructions and enter the
SSID, security settings, and the password (=
45).
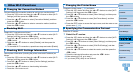
• If WEP security is used and you enter the wrong password in step 8, when
you press the <o> button and then press the <o> button again after the
message, you will go to step 9, but printing is not possible. Check the access
point password and try to connect again, starting at step 3.
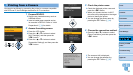
• On SELPHY, wireless signal strength is indicated by the following icons.
[
] High, [ ] Medium, [ ] Low, [ ] Weak, [ ] Out-of-range
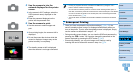
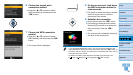
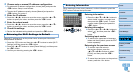
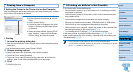
Subsequent Connections
Once you have connected to an access
point, the printer will automatically
reconnect to the previous access point
whenever you turn it on again, and the
standby screen at left will be displayed.
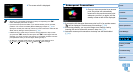
If connection fails because the access point is off or for another reason,
[
] will be displayed. Check access point settings (=
56).
Even during standby, you can print images on a memory card by
inserting the card to access the screen in step 4 on =
14.
Automatic access point connection at startup can also be disabled
(=
44).