


34
Cover
Contents
Part Names
Basic Operations
Print Settings
Printing via USB
Cable
Troubleshooting
Appendix
Printing via Wi-Fi
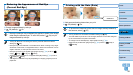
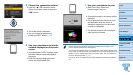
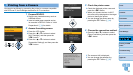
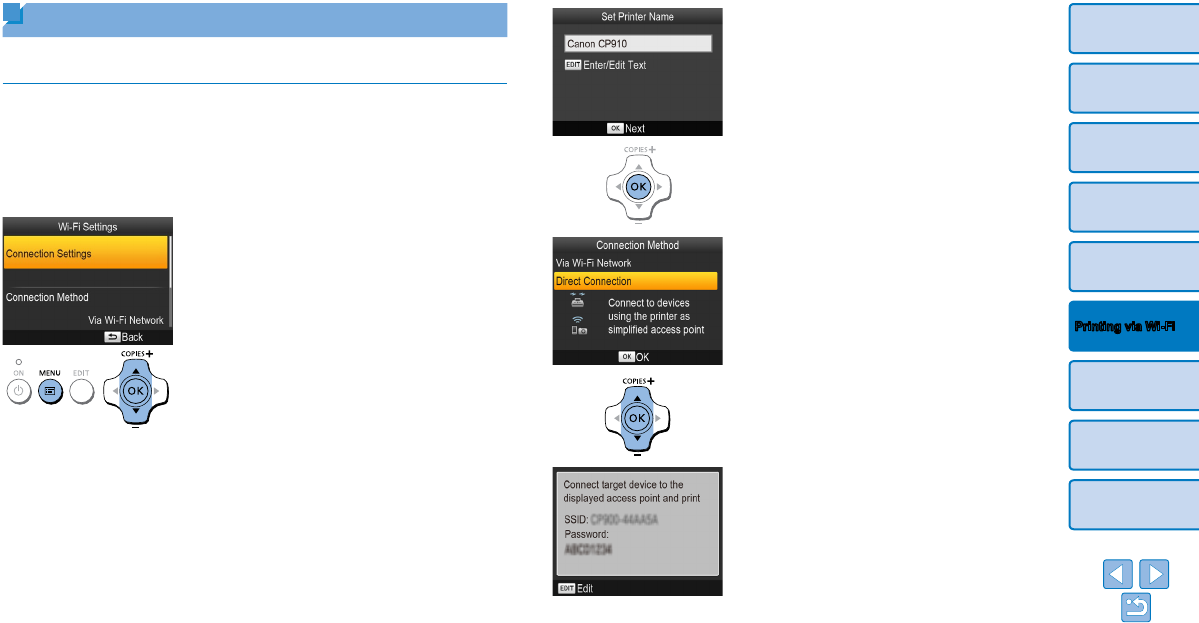
3 Check the printer name.
Check the displayed printer name and
press the <o> button.
When you connect devices via Wi-Fi,
this name will be displayed on the target
device to identify the printer.
You can change the printer name by
pressing the EDIT button (=
44).
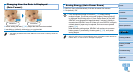
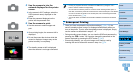
4 Choose the connection method.
Press the <u><d> buttons to select
[Direct Connection], and then press the
<o> button.
The screen at left is displayed.
You can change the password by
pressing the EDIT button (=
45).
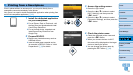
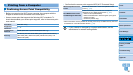
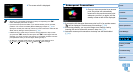
Printing from a Camera
You can print as follows by connecting the printer to a camera compatible
with DPS over IP, the PictBridge standard for Wi-Fi connections.
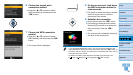
1 Prepare SELPHY.
Remove any inserted memory cards or
USB flash drives.
Insert a loaded paper cassette and an
ink cassette in SELPHY. Refer to “Initial
Preparations” (=
8) for details.
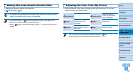
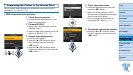
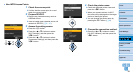
2 Access the setting screen.
Press the <k> button.
Press the <u><d> buttons to select
[Wi-Fi Settings], and then press the
<o> button.
Press the <u><d> buttons to select
[Connection Settings], and then press the
<o> button.