


22
Cover
Contents
Part Names
Basic Operations
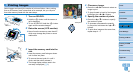
Printing via USB
Cable
Troubleshooting
Appendix
Printing via Wi-Fi
Print Settings
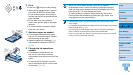
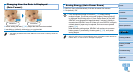
Filtering Candidate Image Sizes
Many image size options are listed when you select [ID Photo]
►
[Size
Selection]
►
[Custom]. To simplify size selection, you can edit the list to
show only sizes used most often.
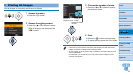
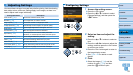
1 Access the setting screen.
On the ID photo settings screen, choose
[Size Selection]
►
[Custom] (=
21),
and then press the EDIT button.
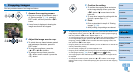
2 Select sizes for display.
To remove a size from the list, press the
<u><d><l><r> buttons to select the
size, and then press the <o> button.
The check mark ( ) is cleared, and the
size will no longer be listed on the [ID
Photo Settings] screen (=
21). To
include a size in the list, press the <o>
button again to select the size, displaying
.
Pressing the EDIT button clears all .
When no sizes are selected, pressing the
EDIT button selects all sizes, displaying
.
Once you have selected the sizes to
include in the list, press the <v> button.
• A warning message is displayed if you press the <v> button when no sizes
are selected. Press the <o> button to return to the [Sizes] screen. Select at
least one size to list, and then press the <v> button.
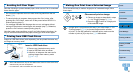
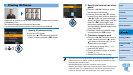
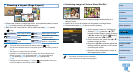
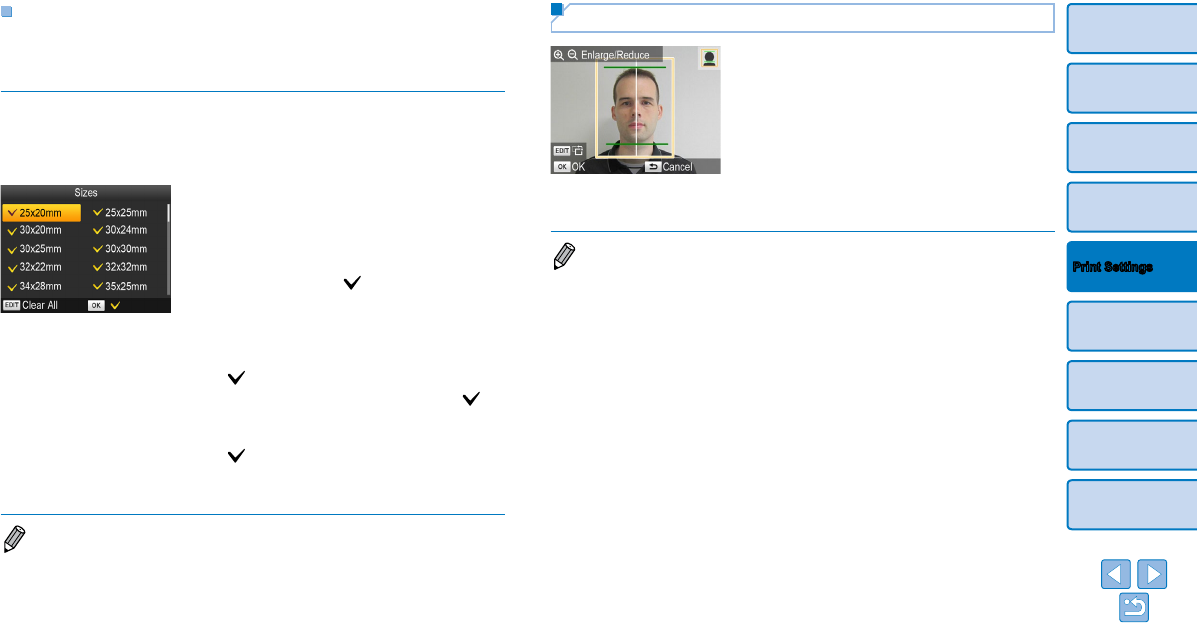
Cropping Passport Images
Two cropping guide lines are displayed
when you access the crop frame
(=
20) when [Standard] size is
selected in [ID Photo].
To print a photo that conforms to passport
standards for face size and position,
adjust the crop frame so that one line is
above the head and the other is below
the chin.
• For specific requirements other than face size and position, contact the
institution that requires the photo.