


6-10
Using Custom and Advanced Features
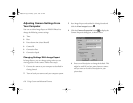
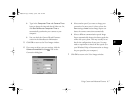
4 Follow the instructions below for the settings you want
to change.
5 When you’re finished adjusting settings, press the ESC
button to return to normal playback mode.
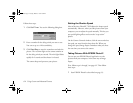
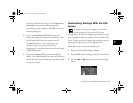
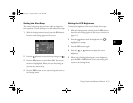
Setting the Camera Clock
Follow these steps to set the date (year, month, day) and the
time (hour and minute).
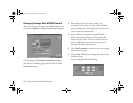
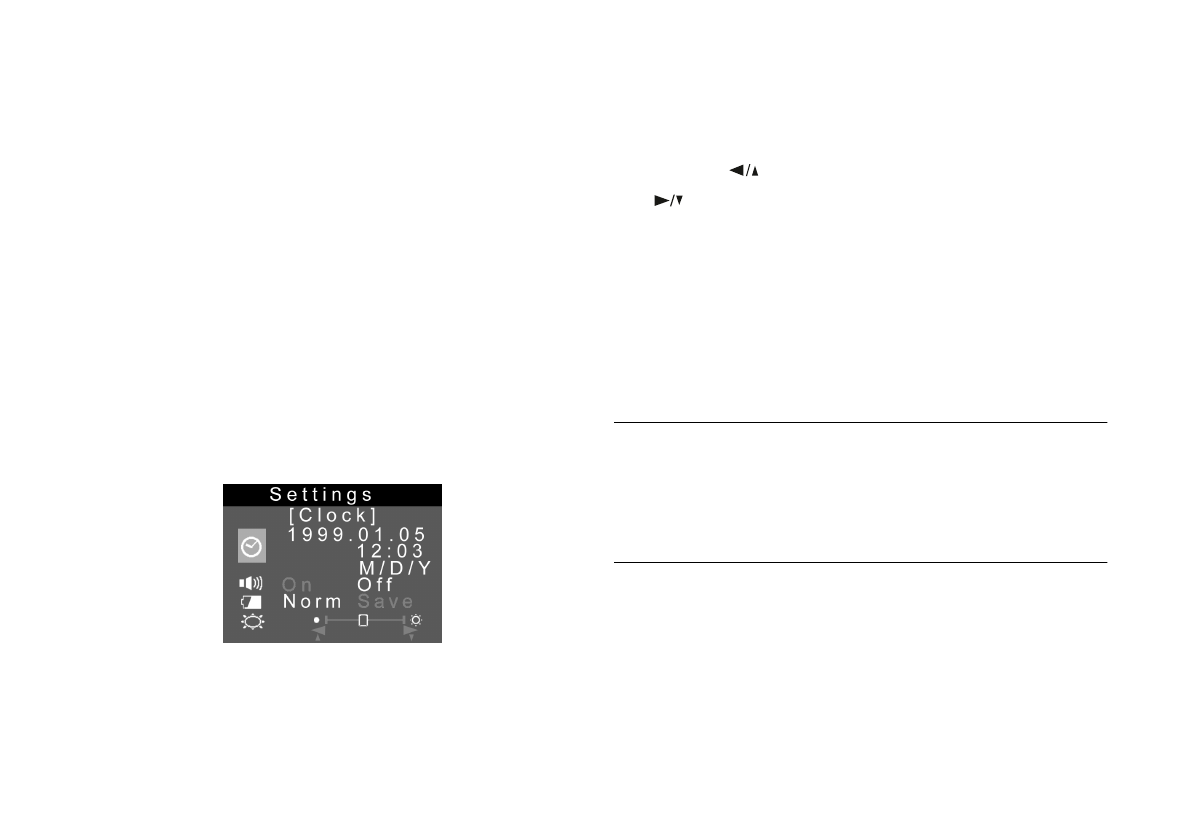
1 With the Settings menu selected, press the SEL button.
Icons for each setting appear on the screen, with the
clock icon highlighted in orange:
2 Press SEL to enter the clock setting mode.
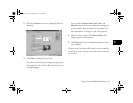
3 Press SEL again to choose the portion of the time or
date you want to adjust. The selected item turns red.
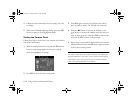
4 Press the button to increase the number, or the
button to decrease the number, until the item you
want to adjust is correct. Then press
SEL to move to the
next item (or
ESC to move to the previous).
5 Repeat steps 3 and 4 until the date and time are correctly
adjusted and saved. Press the
SEL button again to return
to the Camera Settings menu.
NOTE
You need to reset the time and date whenever you replace the
camera’s batteries. In this case, you can enter the clock setting
mode directly rather than going through the Camera Settings
menu. See
Getting
Started
for instructions.
Lily.book Page 10 Tuesday, March 2, 1999 4:06 PM