


5-10
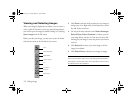
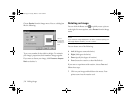
Editing Images
4 You can use any of the following options for your stitch:
◗ To remove an image, click the
Remove button .
◗ For panoramas that are narrow to medium in width
or tall, vertical images, click the
Perspective
Projection
button .
◗ For wider panoramas, click the
Cylindrical
Projection
button .
◗ For images that are aligned correctly but vary in
brightness, click the
Smooth Blend button .
◗ For images that are not lined up perfectly and need
advanced blending, click the
Sharp Blend
button .
◗ Select an Output Size from the drop-down menu.
(The larger the output size, the longer it takes to
stitch.)
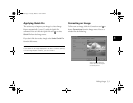
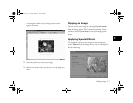
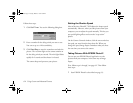
5 When you are finished setting up your panorama, click
the Stitch button .
You see the progress as your image is stitched.
When the stitch is complete, you see a screen with a crop
rectangle around your stitched image.
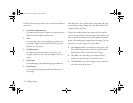
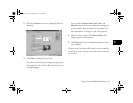
6 If you want, adjust the cropping area by clicking outside
the selected area and selecting a new area. When you
have the area you want selected, click the crop
button to crop your final image.
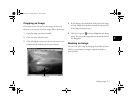
If you have problems with the results of your stitch, see the
troubleshooting section below.
Troubleshooting Panoramas
Check the following problems and solutions if you are
having trouble with your panoramas.
Your final stitch is blurry.
◗ Try using sharp blending for a sharper stitch.
The exposure is inconsistent in the panorama.
◗ Try using smooth blending.
Lily.book Page 10 Tuesday, March 2, 1999 4:06 PM