


3-4
Getting Photos Into Applications and Documents
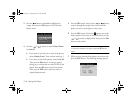
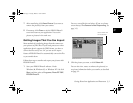
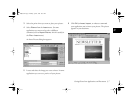
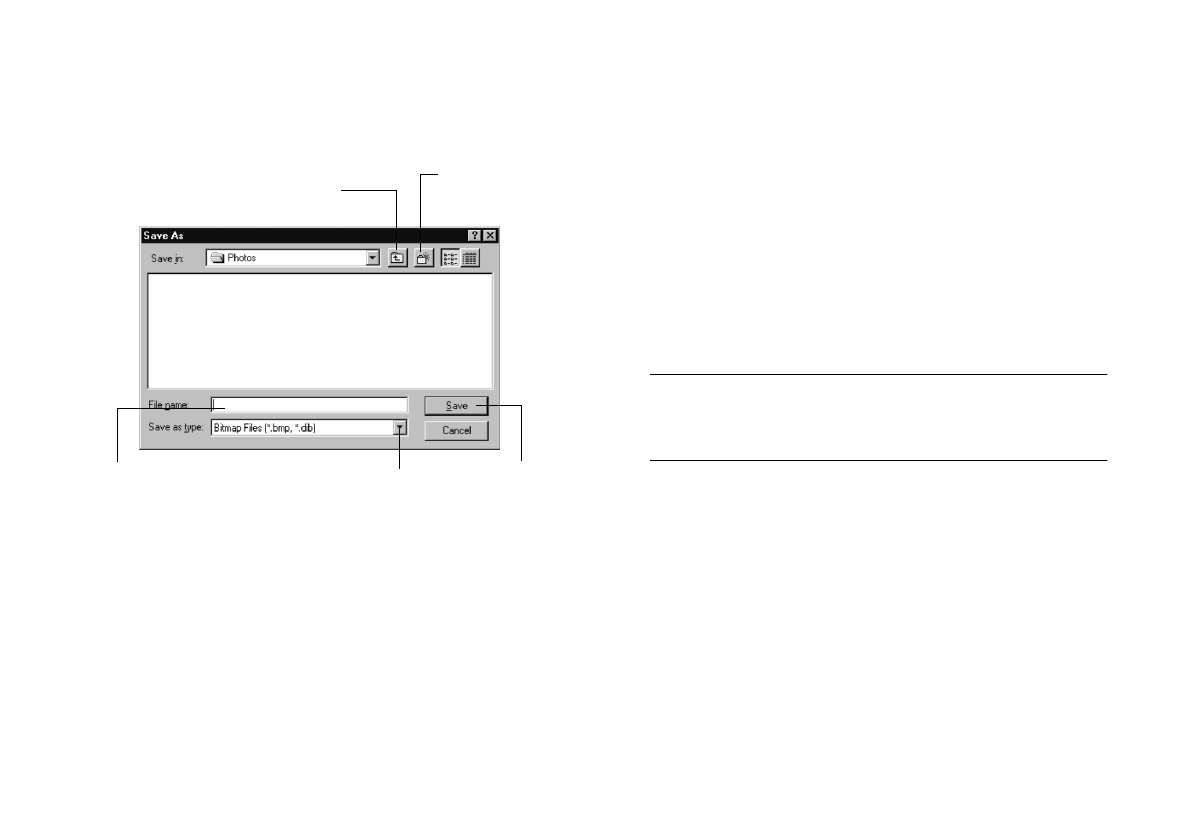
3 Click the Export Photos button. The Save As dialog
box appears:
4 Type a file name. If you’re transferring more than one
image, the software will add numbers to identify each
one.
5 Select the file type from the pull-down menu. You can
choose any of the following formats:
◗ Bitmap (BMP)
◗ JPEG
◗ PCX
◗ PICT (Macintosh only)
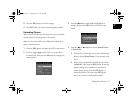
6 Click Save. Your pictures are transferred one by one.
NOTE
You cannot open exported photos in EPSON Photo!2. Use
Image Expert to view and edit the exported images.
7 Click Erase Photos if you want to remove the pictures
from your camera.
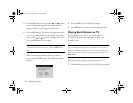
8 Click Close to exit EPSON Photo!2.
You can now insert your exported pictures in documents and
other projects. For instructions, see page 3-6.
Type a name
for your
photo(s)
Click to transfer
and “export”
photos
Click if you want to
choose a different folder
Click to choose
the file type
Click if you want to
create a new folder
Lily.book Page 4 Tuesday, March 2, 1999 4:06 PM