20
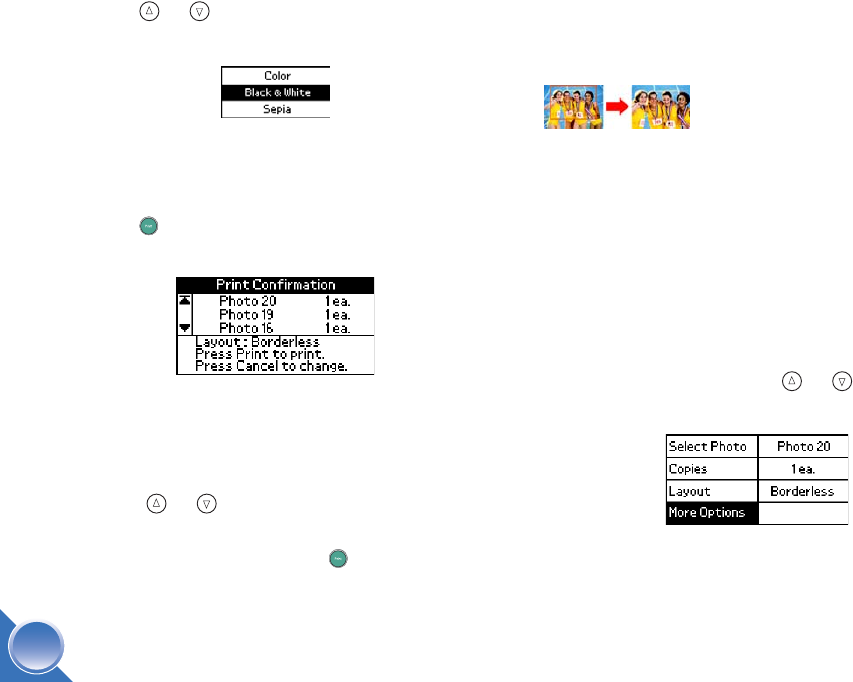
4 Press or to choose Black and White or
Sepia, then press OK.
Note: This setting remains in effect until you print or
press Cancel.
5 If you don’t need to change any other settings,
press Print. You see the Print Confirmation
screen.
Note: If Print Confirmation is turned off, you won’t see
this screen.
6 Check the selected photos, number of copies, and
layout setting on the Print Confirmation screen.
(Press or to check additional selected
photos.)
● If the list is correct, press Print again to
print your photo(s).
● To make changes, press Cancel to go back.
The Print Confirmation screen does not show the
Color Effects setting.
Crop Your Photo
You can print just part of a photo, cropping out the
area that you don’t want. You can choose only one
photo to crop at a time.
Follow the steps below to print a template of cropping
areas and choose an area to crop. (If you already
printed a crop template for a photo with the same
orientation as your current photo, skip to step 6.)
1 Choose the one photo you want to crop. (See
page 13.)
2 On the Main Menu, press or to highlight
More Options, then press OK.
PictureMate.book Page 20 Wednesday, August 18, 2004 2:48 PM


