38 Printing from Start to Finish
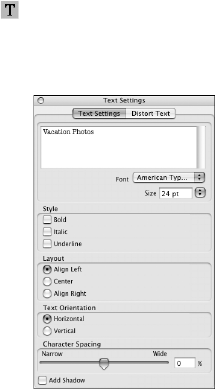
5. To add text, click the button. In the Text Settings window, type your text,
then use any of the options in the window to format it. You can also use
options in the Color Settings and Object Settings windows.
6. To curve a single line of text, click the text in the main window and drag the
red “handle” up or down. Then adjust it using the other handles that appear.
7. When you’re finished, choose
Save as from the File menu to save your file.
Note:
For additional help with Epson Print CD, open the Help menu in Epson Print CD
and select EPSON Print CD Help.
Printing on a CD/DVD with a Macintosh
After you have created your design and loaded a CD or DVD, you’re ready to
print.
1. Open the
File menu and select Print.
2. Click the
Select Printer button and select Stylus Photo 1400 from the
printer list, then click
OK.
3. Select
CD/DVD or CD/DVD Premium Surface as the Media Type setting.
4. Select
None as the Test Print Pattern setting.


