


8
1. INTRODUCTION
Please use cleaning tape produced by JVC.
Adhere to the following precautions when using the head
cleaning tape.
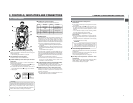
1.
Place the unit in the STOP mode.
2.
The tape runs for 10 seconds at a time in the PLAY mode.
(The tape stops automatically and then the unit enters the
SAVE MODE.) Press the PLAY button after the cleaning
tape is fully loaded.
3.
Do not use the tape more than four times at the most for
each cleaning.
4.
The cleaning tape can be used approximately 100 times.
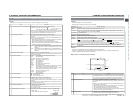
■Use the following chart as a guide for periodical head
cleaning.
1-3 Precautions for Use of Head Cleaning Tape
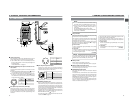
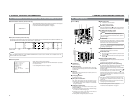
The GY-DV5000 can use any of the following battery packs.
●
Flat shape type
●
Anton-Bauer battery pack: Trimpack 13.14 Series
Magnum 13.14 Series
Compack 13.14 Series
Propack 13.14 Series
* An Anton-Bauer battery pack cannot be connected directly
to the camera. It is necessary to mount the optional battery
holder.
●
Battery holder: Anton-Bauer QRQ27
For details on how to mount the battery holder, see page
35.
1-5 Battery Pack to be Used
To display the remaining battery power accurately, set the
BATTERY TYPE item on the OTHERS (2/2) menu screen
according to the type of the battery pack in use. (☞See
page 78)
1-4 Videocassette to be Used
● Use JVC’s videocassette tapes marked with the “
” or
“
” symbol.
Standard DV videocassette: LA-DV276, LA-DV186, LA-
DV124
Mini DV videocassette: M-DV63PRO, M-DV60, M-DV30
* Do not use M-DV80.
● Videocassettes cannot be used upside down.
● Avoid storing a videocassette with its tape not being
completely wound, as this may damage the tape. Rewind
it to the beginning before placing a cassette into storage.
● Store videocassettes in a place with little humidity and good
ventilation where mould does not form.
● After a videocassette tape has been used repeatedly,
it becomes unable to maintain full performance due to
an increase in noise caused by dropouts, etc. Do not
continue to use a dirty or damaged tape, as this will
reduce the rotary head life.
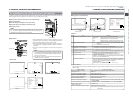
● Videocassette tapes with the “
” or “
” symbol
are provided with a switch on the back to prevent
accidental erasure.
● Slide the switch to SAVE to protect the required recording
in the tape from being overwritten.
● To record on the tape, slide the switch to REC.
Note 1) When used in a low humidity environment, head cleaning
should be conducted at intervals half of those given in
the below chart.
Note 2) If an ME80 tape is used immediately after head cleaning,
the “HEAD CLEANING REQUIRED!” indicator may
remain on. In this case, let the tape run as the indicator
will turn off after the tape has run for a while.
Note 3) Use the cleaning tape in the room temperature (10˚C to
35˚C).
Note 4) The cleaning tape case contains instructions for use of
the cleaning tape. However, some of these instructions
differ from the contents of this sheet. When using the
cleaning tape, please follow the instructions of this sheet.
Note 5) If the “HEAD CLEANING REQUIRED!” does not
disappear after repeated head cleanings, the recording
tape may be abnormal. Avoid excessive repeated use of
the head cleaning tape.
Operating Low temperature Room temperature High temperature
environment 0˚C to 10˚C 10˚C to 35˚C 35˚C to 40˚C
Yardstick for use 1 to 2 times 1 to 2 times 1 to 2 times
of cleaning tape every 5 hours every 20 to 30 hours every 5 hours
REC
SAVE
Switch
9
1. INTRODUCTION
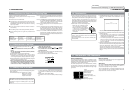
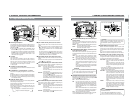
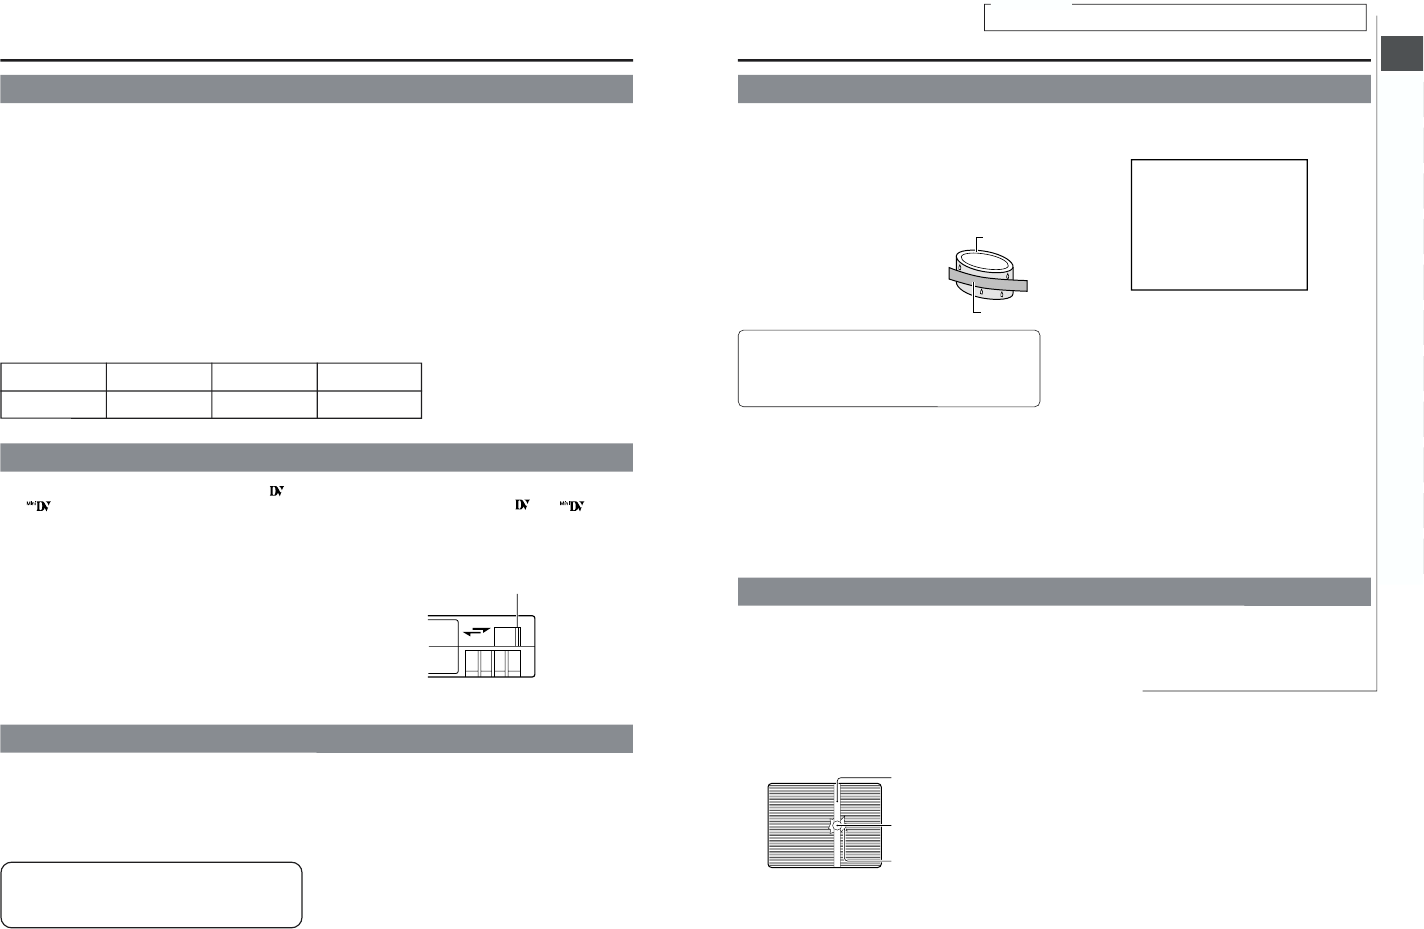
Monitor screen
Smear
(Vertical pale streaking
appearing at high
luminous object)
High luminous object
(Electric light, sunlight, etc.)
Blooming
(Blurring in highlight)
●
If the unit has been cooled down in a cold place and is then
carried to a warm place, the moisture contained in the warm
air may adhere to the head drum or tape guides and be cooled
into water droplets. This phenomenon is referred to as
condensation (dewing). When this occurs, the head drum and
tape guides are covered with droplets allowing the tape to be
stuck to them, leading to tape damage.
●
Condensation occurs in the following cases:
• When the unit is suddenly moved
from a cold place to a warm place.
• When a room heater has just started
or when the unit is exposed directly
to cold air from an air conditioner.
• When the unit is placed in a very
humid place.
1-6 Condensation
Smear and Blooming
Due to the physical structure of a CCD it is possible to induce
vertical streaking (called “smear“) when shooting an extremely
bright light source. Another effect is the expansion of light around
a bright light or object (called “blooming“).
The CCD employed in this unit is characterized by inducing
very little smear or blooming. Nevertheless, please take note
that smear or blooming may be indured when shooting a bright
light source.
Moire or Aliasing
Shooting stripes or fine patterns may cause a jagged effect or
a banding in fine mesh patterns.
White dots
High temperatures can cause CCD sensor pixels to produce
the effect of white dots in the image. This condition is
conspicuous especially when gain is applied.
This is a characteristic of the charged-coupled device (CCD).
As far as possible, use the unit under conditions where the
temperature of the unit does not increase.
1-7 Characteristic CCD Phenomena
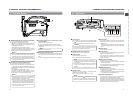
Do not leave the videocassette inserted when moving the
camera under conditions where the temperature
environment changes.
After moving the unit, do not use until the internal parts
have stabilized.
●
“CONDENSATION ON DRUM” is displayed on the LCD
monitor and in the viewfinder when condensation occurs in
this unit.
Head drum
Video tape
0201
CONDENSATION ON DRUM
Keep the power on until the warning message disappears.
●
Pay attention to condensation even before the condensation
indication appears.
• As condensation forms gradually, the condensation
indication may not appear for the first 10-15 minutes after
condensation has formed inside.
• In an extremely cold place, the condensation could freeze
and turn into frost. In such a case, it takes an additional 2-
3 hours for the frost to first melt into condensation and
then to be dissolved.
●
To prevent condensation when moving the unit from one place
to another where the temperatures are greatly defferent, first
remove the videocassette, place the unit in a tightly sealed
vinyl bag, and then move it to a new environment.
To ensure no condensation occurs, allow the temperature of
the unit in the bag to reach that of the new environment before
using it.
←
For servicing
Refer to the service manual page. 1-9 “White blemish derection”