


30 EN
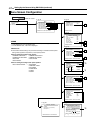
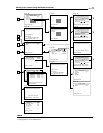
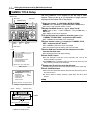
Setting Up the Camera Using RM-P2580 (continued)
Use this screen to restore the values set in the menu to their factory settings.
POS. FUNCTION SET Screen (continued)
Item Function/Set Value
Initial
Value
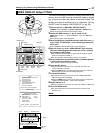
AVERAGE : PEAK For setting the method of exposure detection according to the ratio between the average and
peak values.
●Larger AVERAGE Value : Use this setting when areas other than those highlighted are
dark and unclear. (Example: 10:0)
●Larger PEAK Value : Use this setting when halation is seen to occur at the
highlighted areas on the screen. (Example: 5:5)
[Set values: 10:0, 9:1, 8:2, 7:3, 6:4, 5:5]
8:2
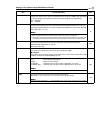
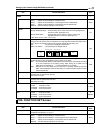
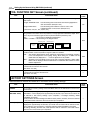
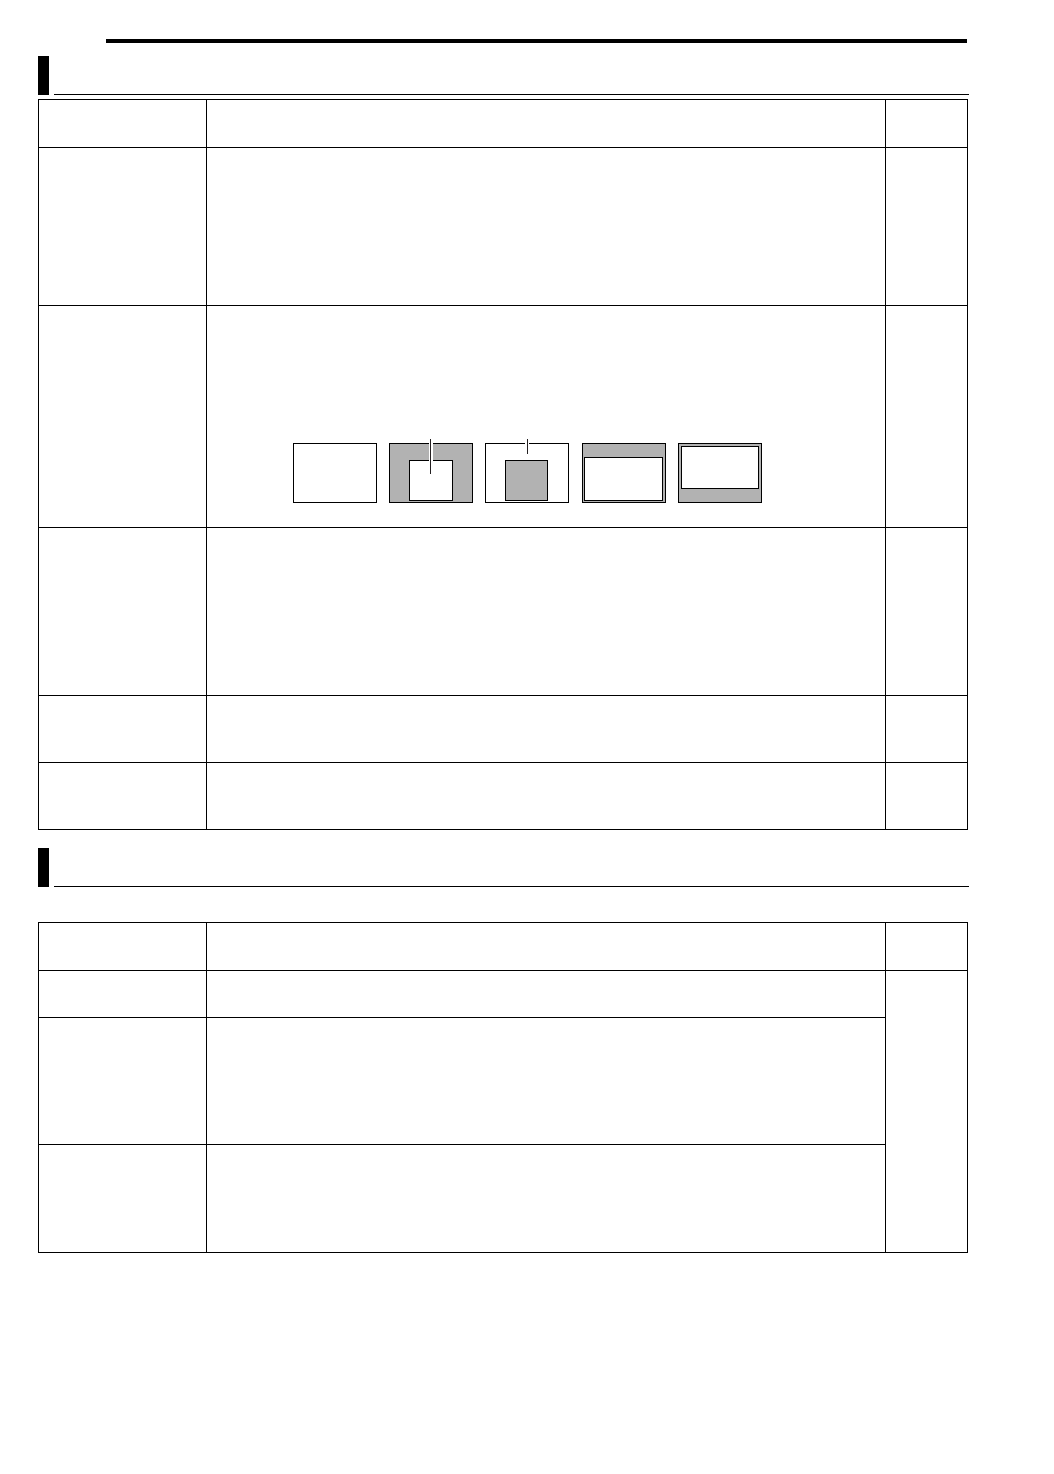
BLC MODE
For setting the backlight compensation function. Use this setting when an object appears dark
using the Auto Iris function due to the presence of a bright light source behind the object. Set in
such a way that unnecessary light sources are placed outside the photometry area.
OFF : Do not perform backlight compensation.
AREA 1 to AREA 4 : Set according to the diagram below.
OFF
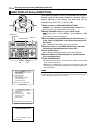
W. BALANCE For setting the white balance adjustment feature. White balance can be adjusted for lighting
conditions within a color temperature range of 2,300 K to 10,000 K.
ATW:Auto-Tracking White Balance mode. Adjusts the white balance automatically according
to the color temperature of the lighting. During
A
ATW
B
setting, the
A
R GAIN
B
and
A
B
GAIN
B
items are displayed as "- - -" and hue adjustment is not possible.
AWC:Switches to the Auto White Control mode and a message indicating A<SET> AWC
EXECB will be displayed. Press the SET button to enable the AWC function for white
balance adjustment.
ATW
R GAIN Adjusts the hue of R (red) when in the AWC mode.
Increase value to enhance the red color.
[Set values: 0 to 255]
^
B GAIN Adjusts the hue of B (blue) when in the AWC mode.
Increase value to enhance the blue color.
[Set values: 0 to 255]
^
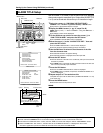
FACTORY SETTINGS Screen
Item Function/Set Value
Initial
Value
CANCEL Do not restore to factory settings. Press the MENU button or the SET button to return to the
menu screen.
^
CLEAR
(W/O POS. TITLE)
Restore factory settings. Upon pressing the SET button, a message indicating AFACTORY
SETTINGS...B will be displayed for approximately 20 seconds, upon which the set values will
be restored to their factory settings. Upon completion, a message indicating ADATA
CLEAREDB will appear.
Preset positions as well as settings and titles for each position, however, will not be restored
to their initial values. Returns to the menu screen upon completion.
CLEAR (ALL) Upon pressing the SET button, a message indicating AFACTORY SETTINGS...B will be
displayed for approximately 20 seconds, upon which the set values will be restored to their
factory settings. Upon completion, a message indicating ADATA CLEAREDB will appear.
All settings including the titles and preset positions will be restored to their initial values.
Returns to the menu screen upon completion.
Photometry
Area
Photometry Area Photometry Area
Photometry
Photometry
OFF AREA 1 AREA 2 AREA 3 AREA 4