4-11
4
Reviewing
Adding sound to pictures
You can attach sound to a selected picture at any time while reviewing your
pictures from either the filmstrip or full screens.
☞ You can only add sound to or play sound associated with burst and
timelapse pictures when the series is collapsed.
☞ If the camera’s volume
control is turned down,
you will not be able to
hear the sound you have
recorded.
☞ The volume control
adjusts the volume of
sound clips attached to
pictures only. You can
turn off System Sounds
through Capture
Preferences on
page 3-10.
1 Scroll to view the picture you want to select.
Use any of the three methods described in the
“Viewing pictures” section on page 4-5.
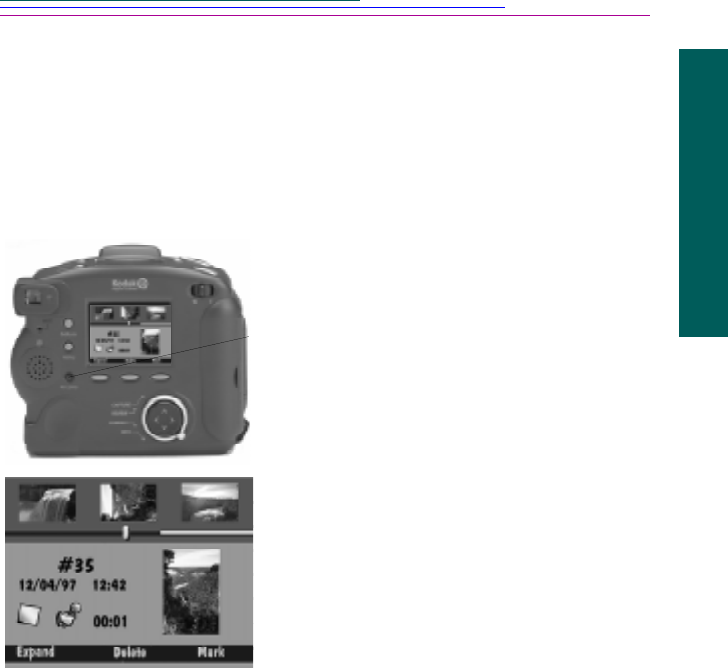
2 Press and hold the RECORD button.
The microphone icon appears on the screen
along with how long you have been
recording.
☞ Each picture can have only one attached
sound clip. If you attempt to attach a
second sound clip to a picture, a
message appears allowing you to delete
the existing sound.
3 Speak into the microphone on the back of the
camera.
4 Release the RECORD button.
A sound icon appears indicating the picture
now has attached sound. If a picture has
attached sound, pressing the DELETE
softkey allows you to delete the sound alone
or both the picture and sound.
5 Press the softkey of your choice.
✔ DELETE—Deletes the sound.
✔ SAVE—Saves the sound.
✔ PLAY—Plays the sound. Refer to
“Playing sound, bursts, and timelapse
sequences” on page 4-14 for information
on playing sound that has not been newly
recorded.
